Brand identity in the right place
Decide which existing labels must remain and where your own branding can sit. A new neck label should not hide or remove information the garment still needs.
From the label inside the neck to the tag on the outside. Bring your garment trims, artwork and SKU packing instructions into one clear plan.
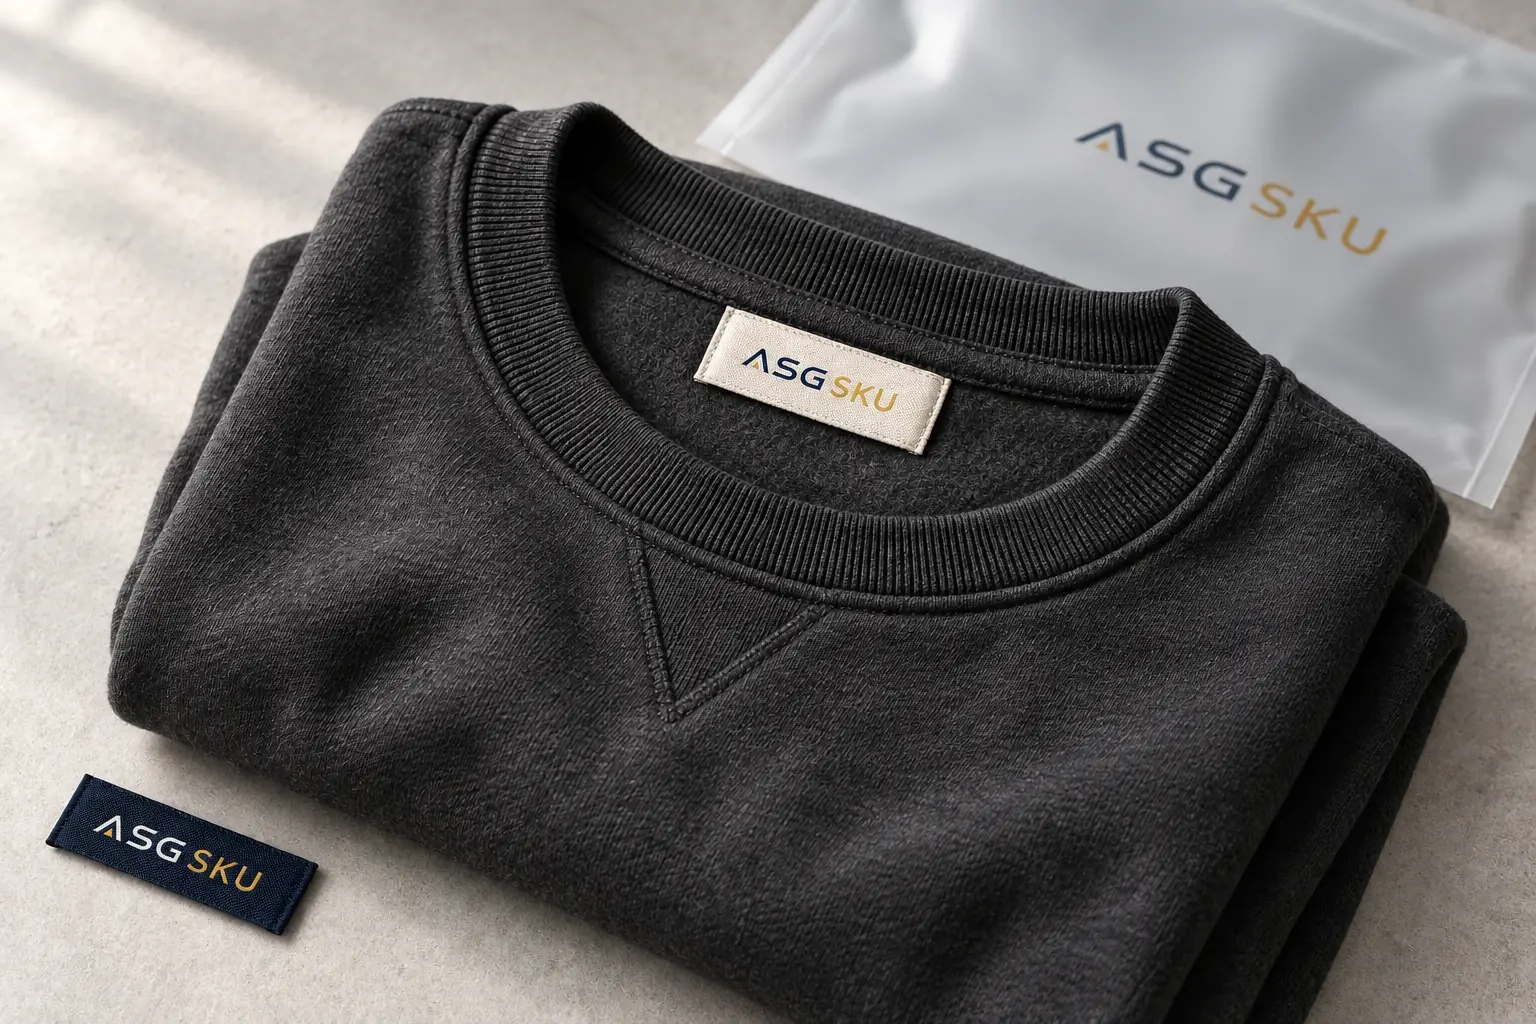
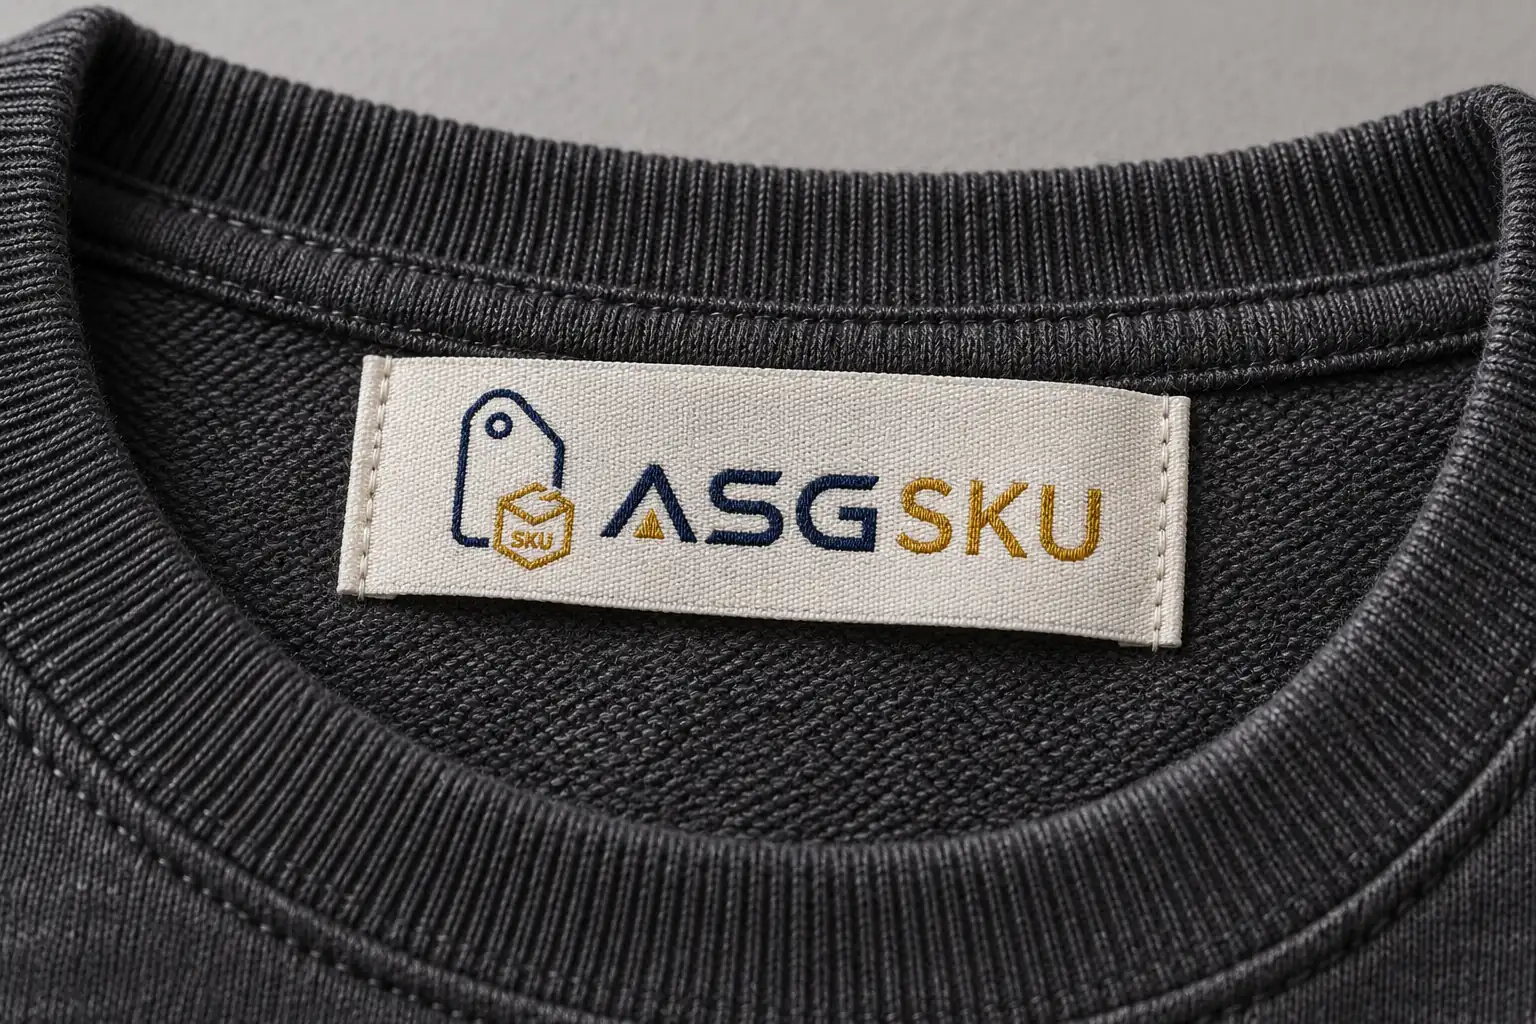
Custom clothing labels identify the brand, size or care information on a garment. A neck label, side-seam care label and outside hem tag each have a different job. Choose the location before the dimensions and artwork.
A woven logo is formed by the threads of the label. Review the weave, lettering, edge finish and color on an actual-size sample; small artwork details may need simplifying.
Sew-on labels can sit flat or fold into a seam. A loop fold wraps an edge. For custom clothing labels iron-on, confirm backing, application settings and suitability for the garment before using heat. Check the finished garment after its intended care cycle.
Keep branding, size identification and care information connected.
Decide which existing labels must remain and where your own branding can sit. A new neck label should not hide or remove information the garment still needs.
Use one approved label reference for each size and color combination. Record the trim version and where it is placed, including the outside of any garment bag.
Prepare accurate composition, care and destination-market details. Do not copy instructions from another product or infer wash performance from the fabric alone.
Choose the placement, then confirm size, fold and attachment.
Scroll across to compare all specifications.
| Label type | Best for | Attachment |
|---|---|---|
| Damask woven label | Woven brand artwork; review detail on sample | Sew-on, center or end fold |
| Printed satin label | Printed care or brand information | Sew-on, side seam |
| Heat transfer label | Tagless neck prints on tees and activewear | Heat press |
| Iron-on woven label | Compatible fabrics after application review | Iron-on backing |
| Cotton canvas sewing label | Printed or woven fabric branding | Sew-on, loop fold |
Garment bags: add the folded size, closure and label position to the same brief. A clear or frosted bag can make the size reference visible at pack-out. Confirm the material and suitability for the product. Confirm finished label dimensions, MOQ and timing in your quote and approved sample.
Choose each trim by where the customer or packing team will use it.
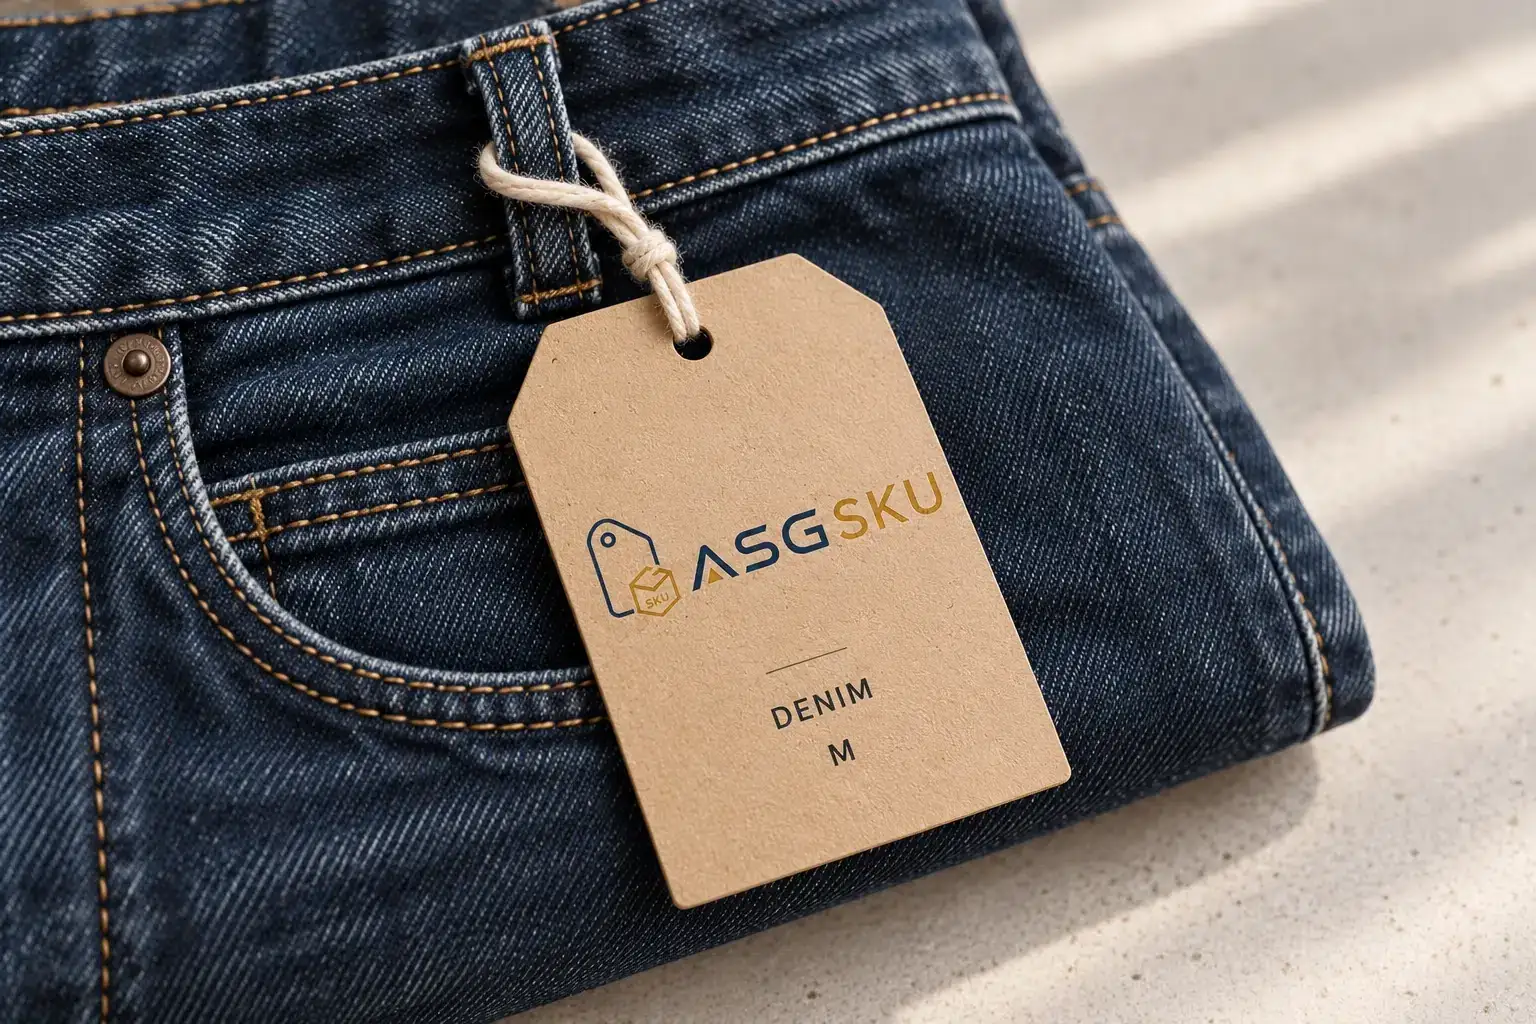
Printed card tags add a removable brand or product reference. Confirm cord, attachment and any approved reverse-side information.
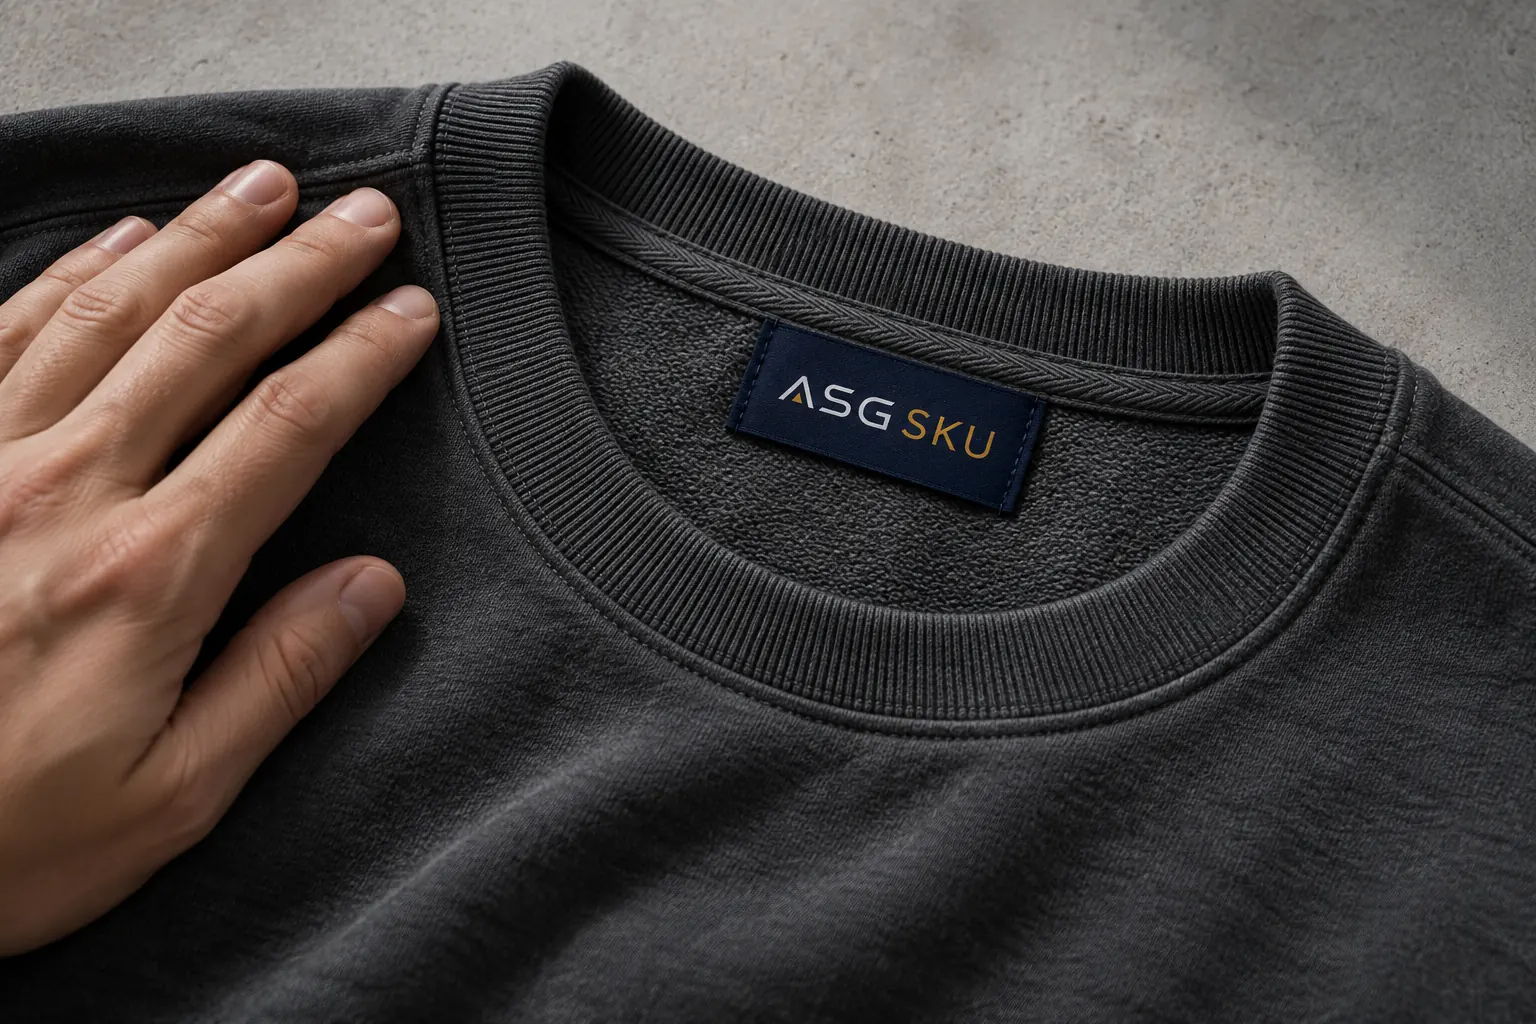
A woven or printed label inside the collar. Review finished size, seam position and the feel against the garment.
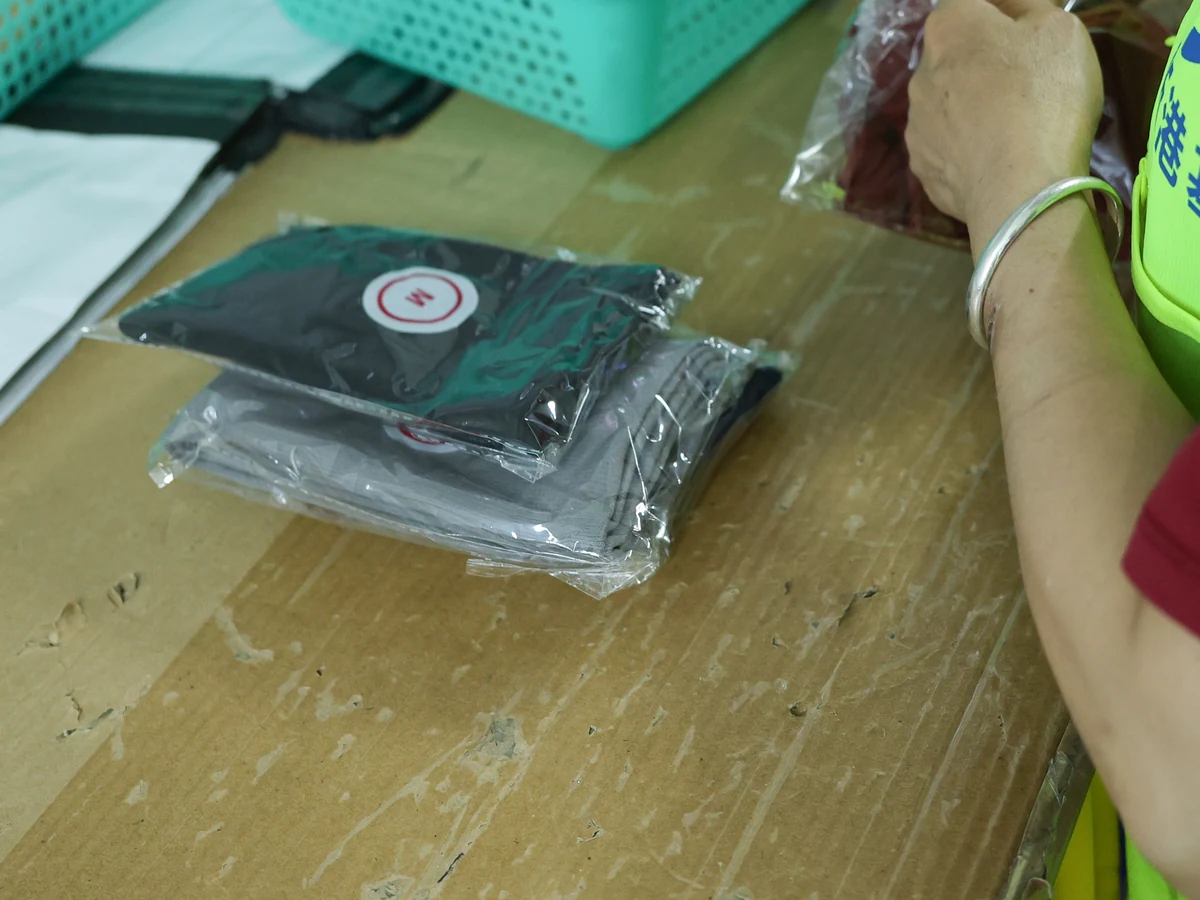
An outside size reference for a bag or folded garment. Specify the size code and substrate; review adhesive suitability.
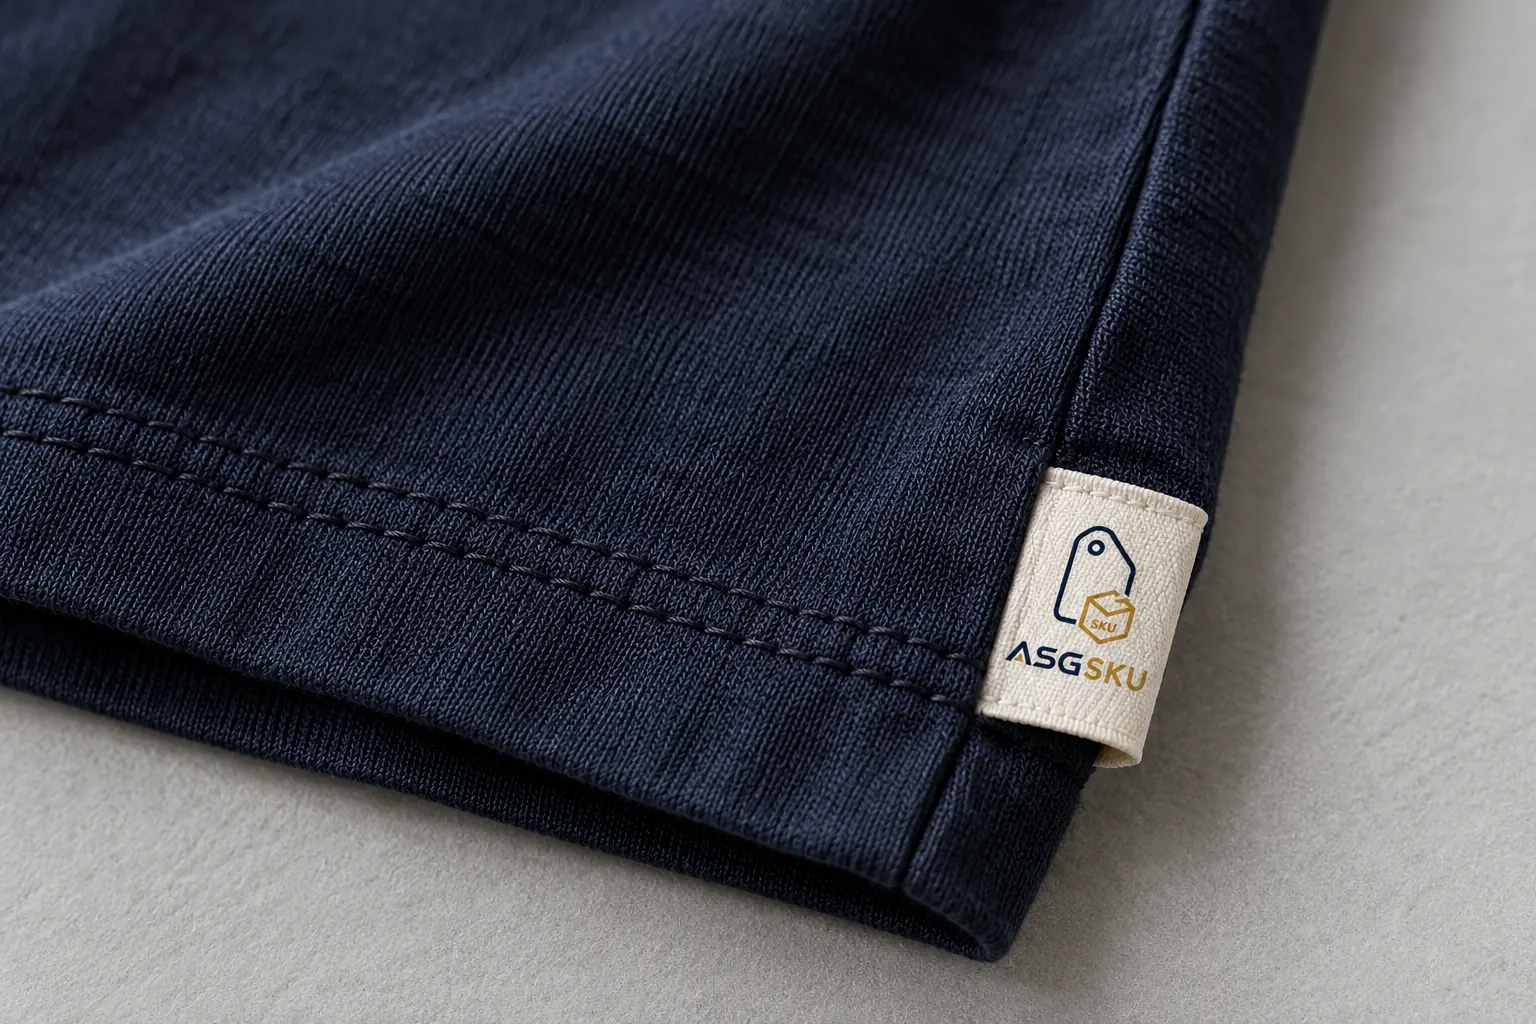
A small folded tag at an outside hem or side seam. Check which face stays visible and where the stitch secures it.
Artwork comes after the garment facts.
Supply the confirmed fiber content and relevant supplier records for each garment construction. Keep the artwork version connected to the correct product.
Prepare instructions supported by reliable evidence for the finished garment, including trims, prints and linings. A fabric recommendation alone may not cover the complete item.
Check destination-market requirements for care, origin, fiber content and business identity before approving the label. Keep any required existing information intact.
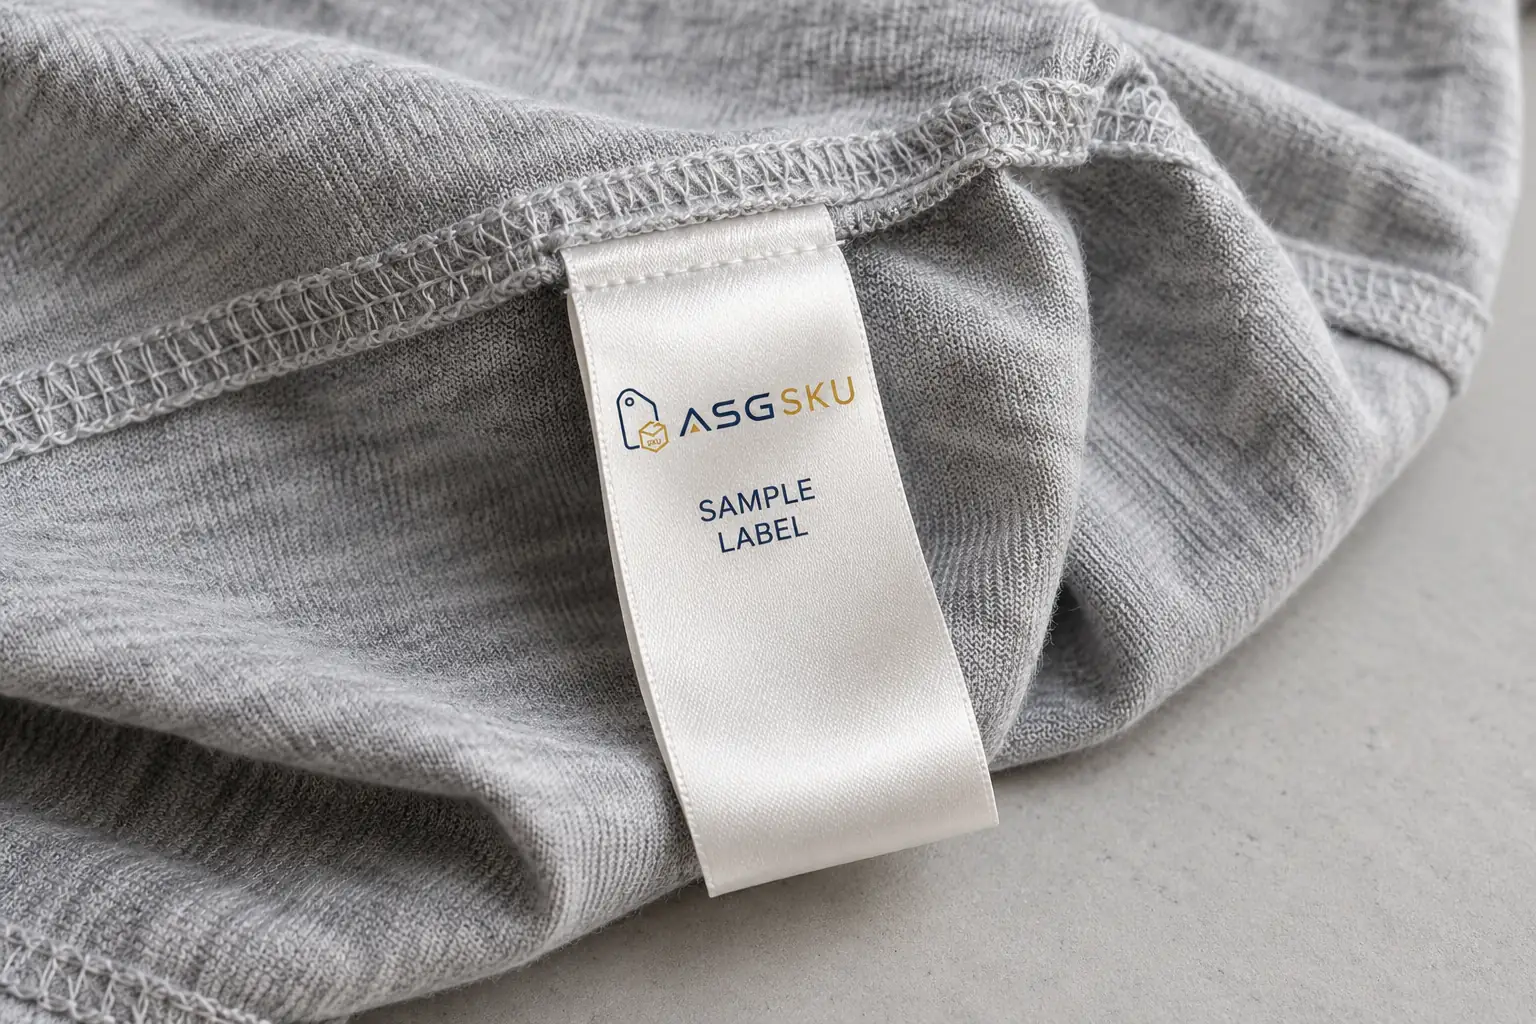
One brand system can still have different instructions for different products.
Review existing garment labels before adding or replacing trim. Record the approved attachment method and any information that must remain; confirm the available sewing or pressing service separately.
Explore private label packagingCustom clothing labels for handmade items can use a shared artwork family while keeping attachment appropriate to each fabric. Ask how artwork versions and sizes affect minimum quantities.
Separate permanent garment labels from shipping and channel labels. Add a clothing barcode label, hang tag or insert only where the approved SKU and channel instruction calls for it.
Give each garment a clear trim instruction: neck label, care-label version, size reference, hang tag and bag. Include placement and attachment so the list can become a usable packing reference.
Size, fabric, color or sales channel can change the required pieces. Assign an approval owner and effective version before applying a new rule.
| SKU | Labels | Add to order |
|---|---|---|
| TEE-WHT-S | Woven neck · care label A | Size sticker S, hang tag |
| HOOD-NVY-L | Woven neck · care label B | Size sticker L, garment bag |
| LEG-BLK-M | Heat transfer neck | Size sticker M |
| CH: AMAZON | Same as SKU rule | + barcode label on bag |
Example references. We confirm label versions, placement, checks and service scope.
Swipe or use the arrow keys to view all columns.

Include the garment reference, label artwork version, attachment position and extra packaging in the handoff. Define what should be checked before the garment is bagged.
Request sewing, heat pressing, receiving, storage, barcode checks or packing photos in your brief so availability, equipment, charges and responsibilities can be confirmed.
Share label types, finished sizes, folds and quantities per version.
MOQ, pricing and timing are confirmed in your quote. Ask whether size variants can share a run; sewing, pressing, packing, freight and storage apply only within the agreed scope. Compare apparel label and tag MOQs by material.
Specify the garment trim and its application as connected tasks.
Scroll across to compare all specifications.
| Task | Label specification | Garment and packing instruction |
|---|---|---|
| Artwork | Approved logo and information version | Correct version for garment and market |
| Construction | Material, finished size and fold | Location and attachment method |
| Identification | Size or product code where needed | Match garment SKU, size and color |
| Extra packaging | Hang tag, sticker and bag references | Pieces and quantities per channel |
| Replenishment | Order quantity and production timing | Stock owner and agreed review point |
Confirm who handles each step and how changes are approved.
Start with the garment. Finish with an approved label and an explicit SKU instruction.
Share garment types, sizes and the position of each label. Include any existing information that needs to remain.
Provide a vector logo and confirmed composition, care and market details. Review each proof at actual size.
Confirm sample charges and timing. Check color, readability, edges, attachment and the intended care cycle.
Approve the specification, quantity per version, schedule and delivery destination before the batch.
Connect labels, tags, stickers and bags to each garment. Agree checks, exceptions and responsibilities.
Costs, construction, minimum quantities and garment application.
The quote depends on label type, dimensions, artwork, colors, fold and quantity per version. Attachment and packing may add separate charges. Share the garment and trim list to request an itemized quote for your project.
Send a vector logo, garment types, intended label positions and confirmed care and composition details. Review actual-size artwork and a garment sample, then confirm quantity, charges, timing and delivery before production.
Compare the artwork, location, edge finish and feel on the garment. Woven labels form the design from threads; printed labels put artwork on a substrate. Review small text, color and durability on the selected construction after its intended care cycle rather than assuming one method always lasts longer.
Minimums depend on construction, artwork, size and quantity per version. Ask whether different sizes can share a run and whether sampling is available. A no-minimum offer or combined minimum has not been confirmed.
Include the garment, label construction, attachment position and volume in your request. Sewing, pressing, tagging and packing availability, sample checks, pricing and timing need confirmation for the project. Use the quote form to send the requirements.
Tell us about your garments and the labels, tags and packaging you need.
Fields marked are required. Select all packaging types that apply.
Other and Hang tags are selected. Write “Clothing labels” in Project notes with the label types, positions and quantities. Adjust the selections to match your project.