Keep the design visible
A large opaque sticker can cover the finish you chose for a jar or bottle. A clear edge leaves more of that surface visible while reserving space for the code.
Keep the container visible. Give the barcode a clear reading area.
Plan the film, white ink and application for each SKU.
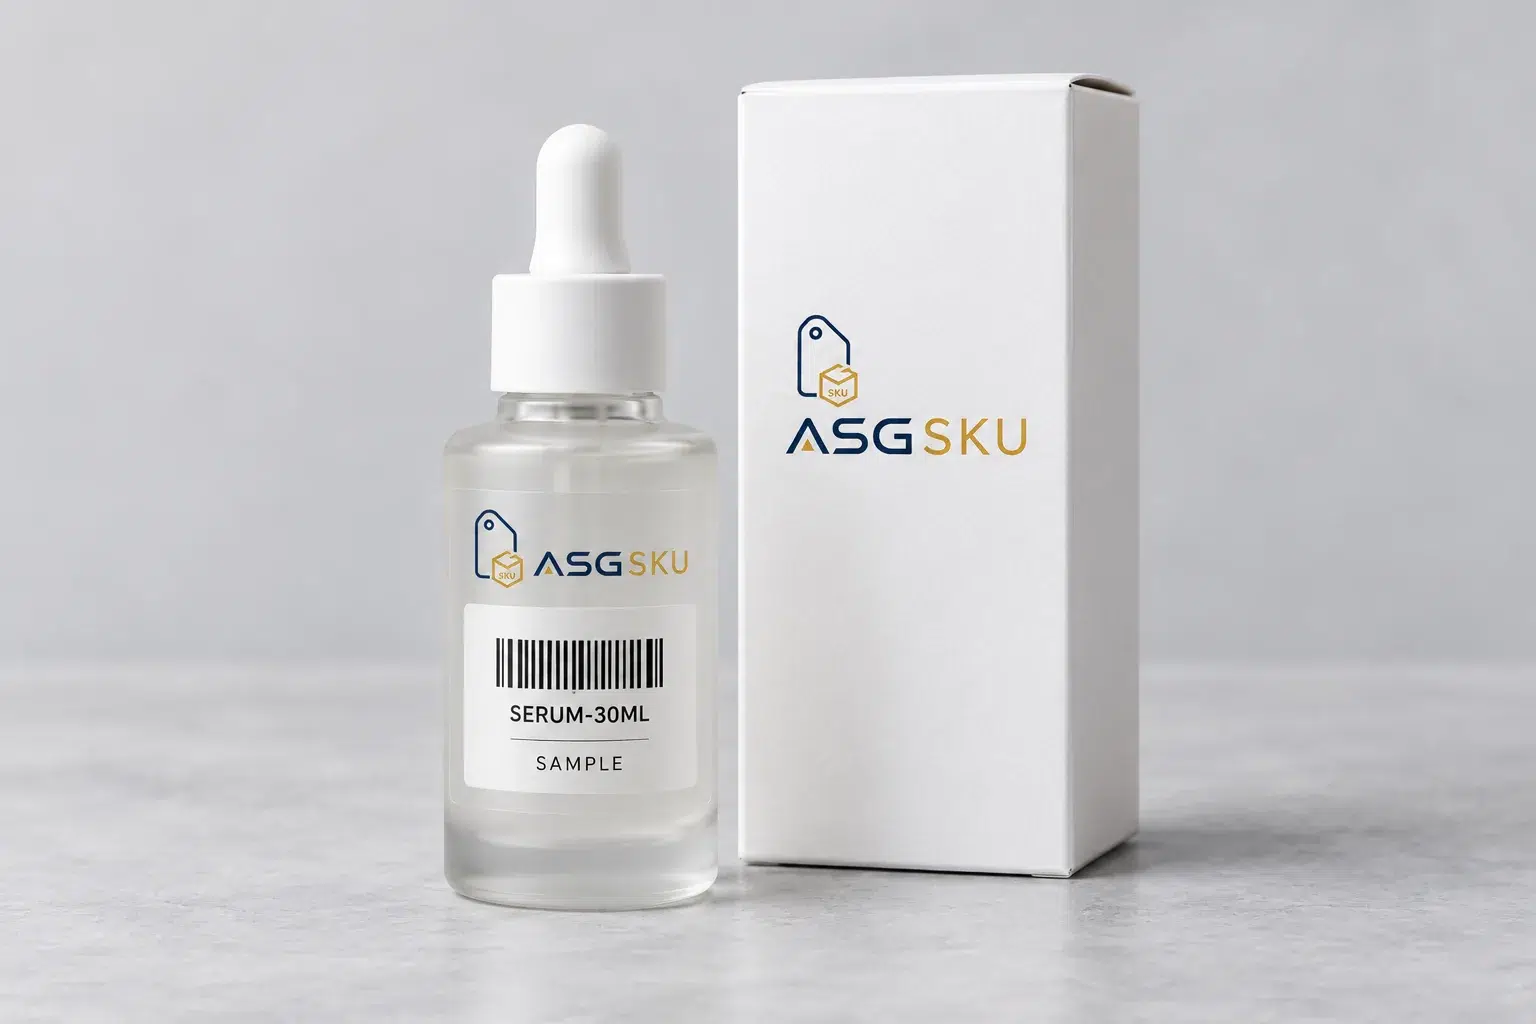
Plan the appearance, contrast and placement together.
A large opaque sticker can cover the finish you chose for a jar or bottle. A clear edge leaves more of that surface visible while reserving space for the code.
Dark glass, colored contents or artwork can reduce contrast behind a transparent label. Review the final combination, not just the label on its liner.
Bubbles, wrinkles and an awkward position can affect both appearance and reading. Check the label dimensions and placement on the actual container.
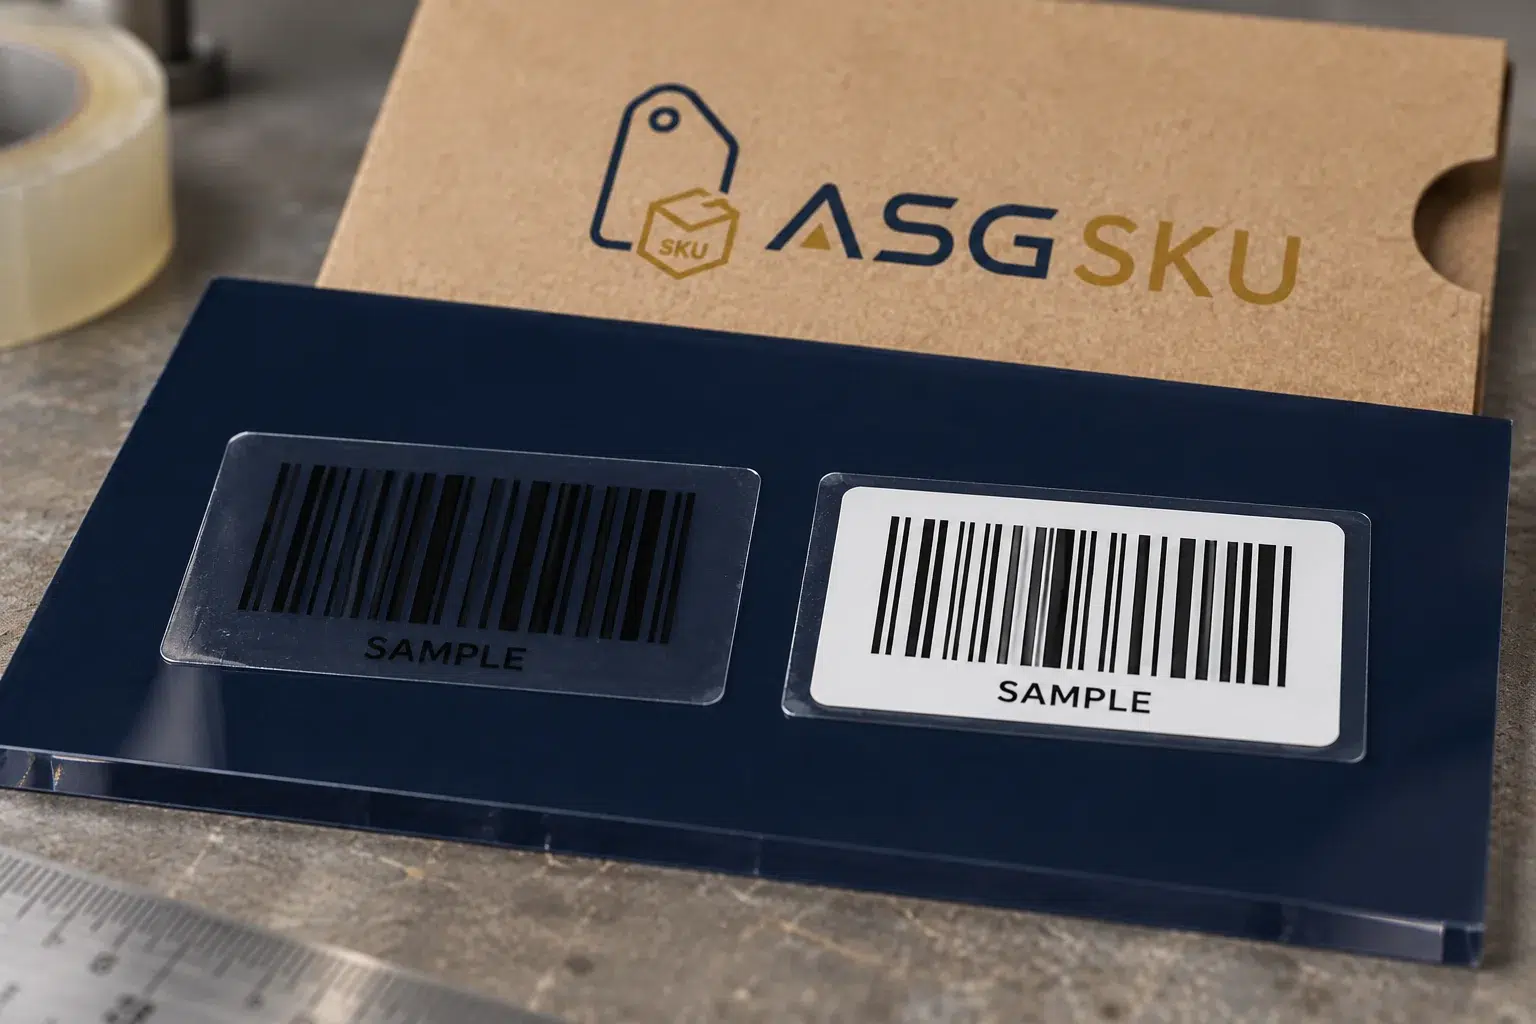
Transparent barcode labels leave the container visible around the printed area. The barcode still needs sufficient contrast against its background.
A white underprint is an opaque ink layer beneath the code and its quiet zones. It can separate the bars from dark glass, colored contents or artwork while leaving the surrounding film clear. Approve opacity, dimensions and placement on a physical sample.
Compare the two sample labels shown here, then plan your container, film and print together. Explore the wider barcode labels range.
Film choice depends on the surface and how the product is handled.
Scroll across to compare all specifications.
| Option | Best for | Finish |
|---|---|---|
| Clear PET film | Rigid packs; confirm curve and adhesion | Gloss / matte options |
| Clear PP / BOPP film | Confirm flexibility for the actual container | Gloss / matte options |
| Clear with white underprint | Dark or variable backgrounds | Opaque area behind code |
| Clear with protective laminate | Moisture / rubbing exposure to be tested | Confirm laminate and adhesive |
Confirm film, adhesive, label dimensions and finish for the actual container. Review white-ink coverage and any agreed scan or exposure checks on a sample. Minimum quantities and timing are confirmed in your quote.
Match the label to the container, not just to the artwork.
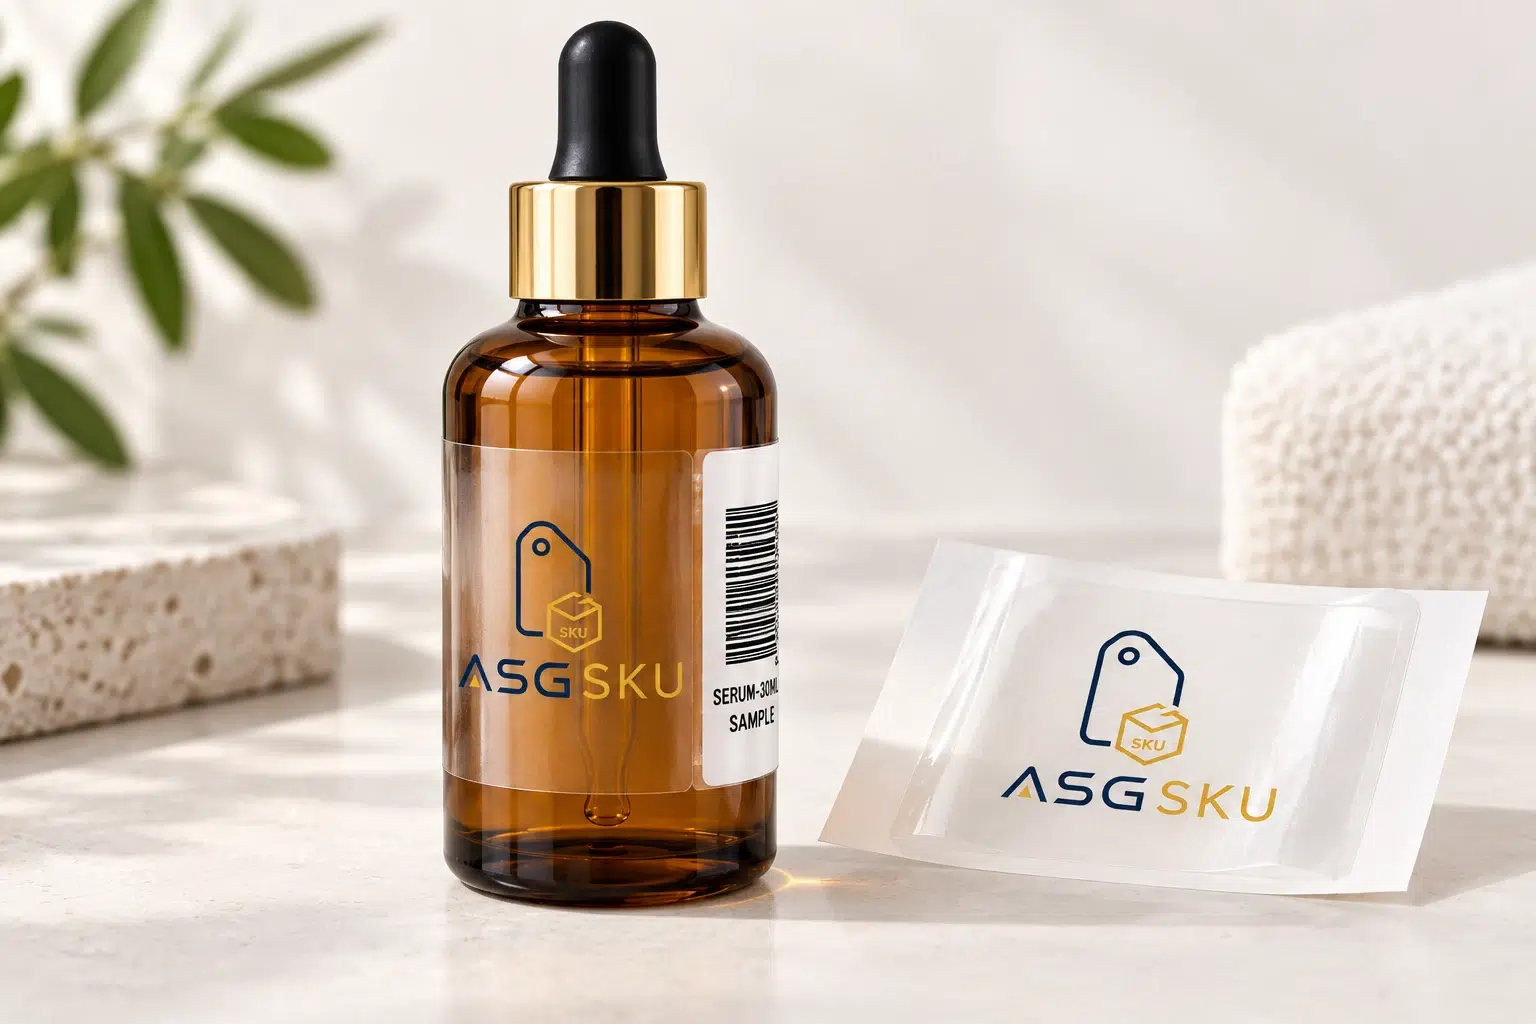
Keep the front design visible and choose a code area on a suitable panel. Check filled-container color, curvature and placement before approving the label.
Plan skincare packaging with our beauty and cosmetics page.
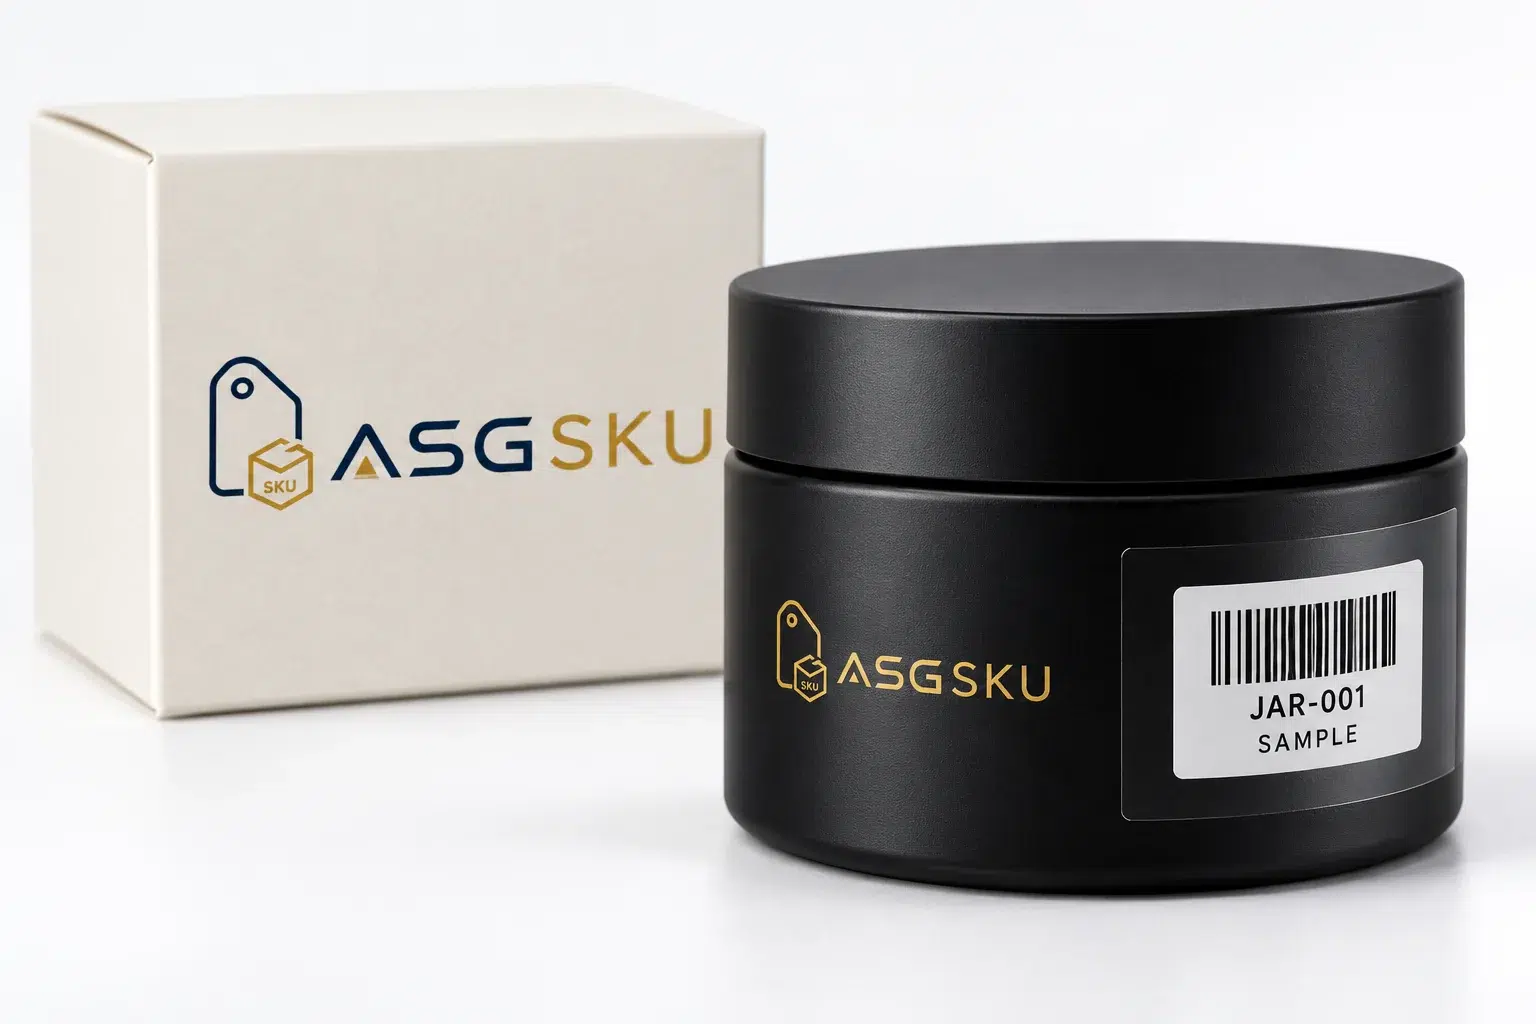
A localized white underprint can provide a light code background while transparent edges reveal the jar or printed pack. Check ink opacity and avoid placing the code across a seam.
Confirm the finish on the real container; a screen preview cannot establish scan performance.

Review the label on the filled container, including the shape, contents and handling conditions. A jar or tin may need a different placement from a flat carton.
For moisture or rubbing exposure, agree a sample test and acceptance criteria before claiming resistance.
Similar clear-label rolls can belong to different variants. Link the approved label version to the SKU and keep its stock location identifiable.
Record the panel, orientation and agreed distance from a reference point. Include any separate batch label and the checking method before application starts.
| SKU | Label | Placement |
|---|---|---|
| SERUM-30ML | Clear EAN · white underprint | Back panel; distance from base to confirm on sample |
| SERUM-50ML | Clear EAN · white underprint | Back panel; distance from base to confirm on sample |
| CANDLE-AMB-L | Laminated clear UPC | Jar base, centered |
Example rules. We confirm placement and finish on the sample for each SKU.
Swipe or use the arrow keys to view all columns.
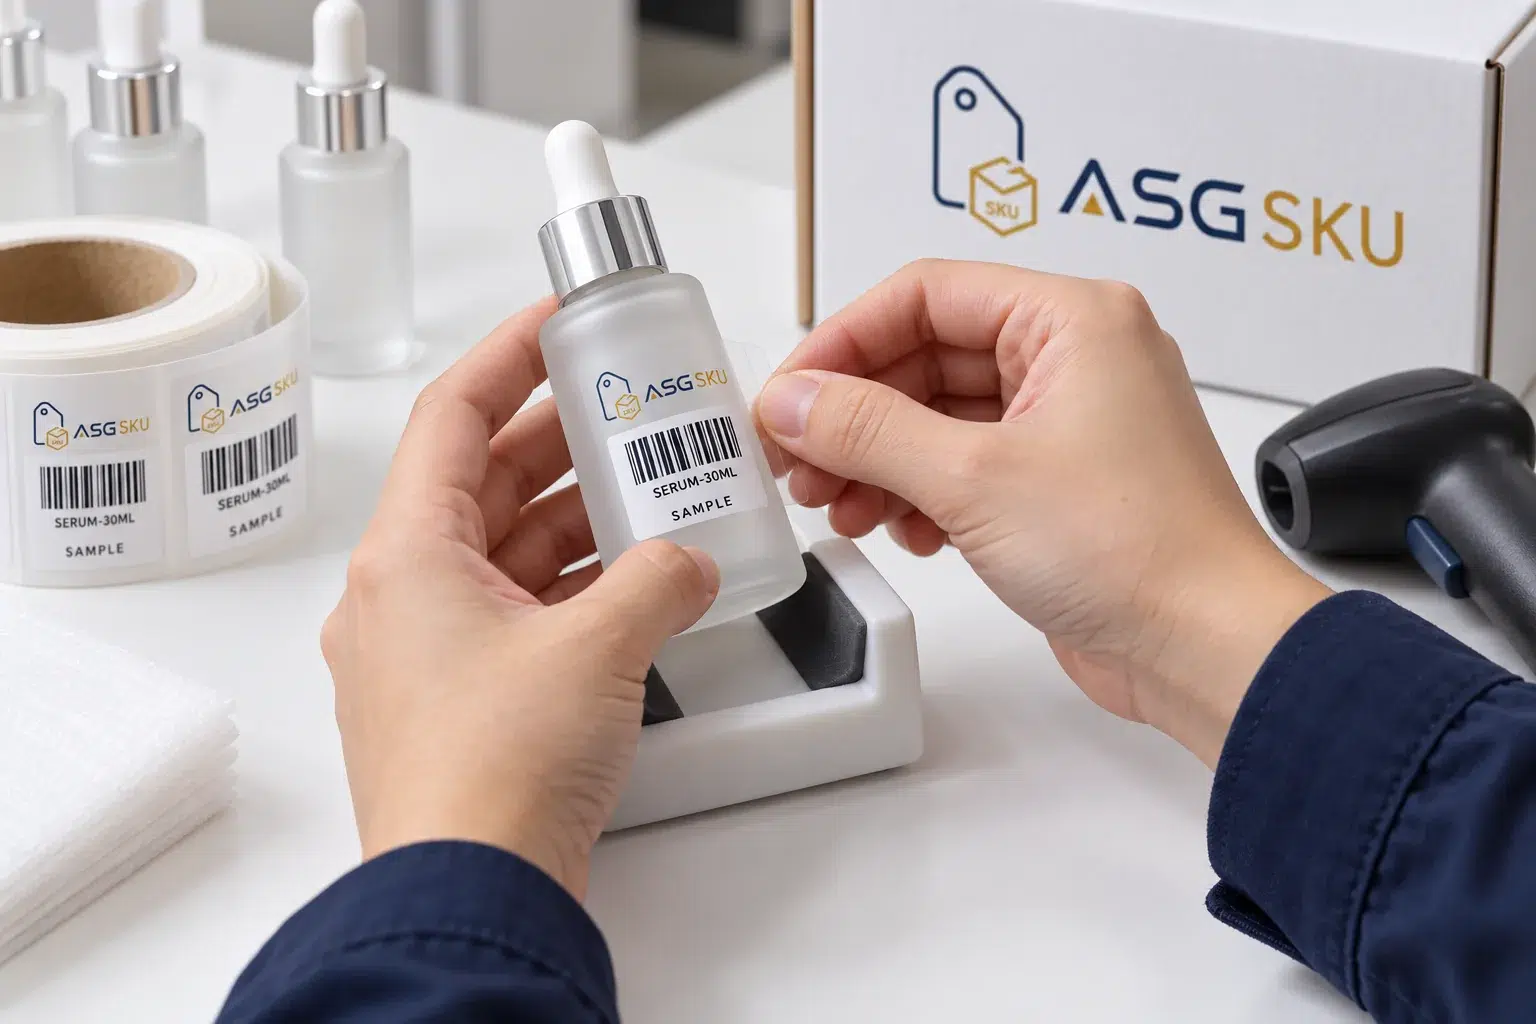
Share the container, label file and placement rule before stock is prepared. Agree how curved surfaces are positioned and how the finished units will be checked.
Confirm service availability, equipment and the inspection scope on your quote.
Check the printed label on the final container, under its intended conditions.
Use the intended scanning system on a sample. If a formal print grade is required, agree the standard, verifier and report separately. A successful scan alone is not a formal quality grade.
Waterproof barcode labels require evidence for the complete construction: film, ink, adhesive and any laminate. Specify moisture, rubbing, storage and handling conditions for a sample test.
Preserve the code’s required clear margins within the white backing. Confirm symbol size and orientation for the container; do not shrink or wrap the bars simply to fit the artwork.
Technical reference: GS1 barcode quality checks. Material photos do not establish a scan grade or durability rating.
Prepare the film, white-ink area and container details for your project quote.
Scroll across to compare all specifications.
| To plan | What to share | What affects the quote | Confirmed in your quote |
|---|---|---|---|
| Film & container | Container material, color, dimensions and label quantity per design. | Film, adhesive, label size and quantities by design. | Material specification, minimum quantity and unit price. |
| White ink & sample | Barcode artwork, white-ink area, finish and the actual filled container. | White underprint, finish and the sample checks you request. | Approved artwork, sample scope and any agreed verification. |
| Application & delivery | SKU mapping, placement, relabeling needs and delivery destination. | The application, checking and delivery scope you request. | Agreed responsibilities and production and delivery timing. |
Send container details, label dimensions, quantities and artwork together. Minimum quantities, prices and timing are confirmed for your project in the quotation. Compare clear label MOQs by material.
Agree the responsibility for each stage.
Scroll across to compare all specifications.
| Task | Printed-label supply | Application plan |
|---|---|---|
| Artwork | Approved code and white-ink layer | Correct version linked to the SKU |
| Sample | Printed film on its liner | Check on the actual container |
| Placement | Label size and roll format | Panel, orientation and reference point |
| Checking | Agreed print-quality checks | Agreed scan and appearance checks |
A scope comparison, not a claim that other printers provide no checks. Confirm the services included in your project.
Approve the construction and placement before the print run.
Share container photos, dimensions, color and authorized barcode data for each SKU.
Confirm film flexibility, adhesive, gloss or matte finish and the white-ink area.
Review the label on the real container. Agree scan checks, any grading, costs and timing.
Approve quantity per design, pricing, production timing and delivery location.
Record the version, stock location, placement and checking instructions before application.
White ink, curved containers and the checks to agree.
Readability depends on the complete label and container. Contrast, opacity, symbol size, quiet zones, print quality and placement all matter. Use a white backing where needed and check a physical sample on the actual filled container with the intended system. Agree formal verification separately if required.
It is an opaque white ink layer beneath the barcode area. It creates a light background while the film around it stays transparent. The white area must include the required quiet zones around the code, not just the printed bars. Confirm opacity and dimensions on the proof and sample.
Transparency does not establish waterproof performance. The film, ink, adhesive, laminate and application surface all affect the result. Describe condensation, rinsing, rubbing and storage conditions, then agree a suitable construction and sample test. The water-droplet image on this page illustrates appearance only.
They can be planned for curved containers, but film flexibility, label dimensions, orientation and adhesion need checking on the actual bottle. A small or tight curve can make the code difficult to read. Confirm the correct placement for the symbol and scanning process rather than using one orientation for every bottle.
Share the stock location, SKU list, approved label files and relabeling instructions so availability and scope can be confirmed. Agree how old codes are covered or removed, which units are checked, and what completion record is required before work begins.
Select Labels & stickers and describe your container, white-ink area and clear-label requirements. Include photos and the barcode data for each SKU.
Fields marked are required. Select all packaging types that apply.
Add these details to your project notes.