Guide
How to Apply the Right Label to the Right SKU
Updated October 5, 2026
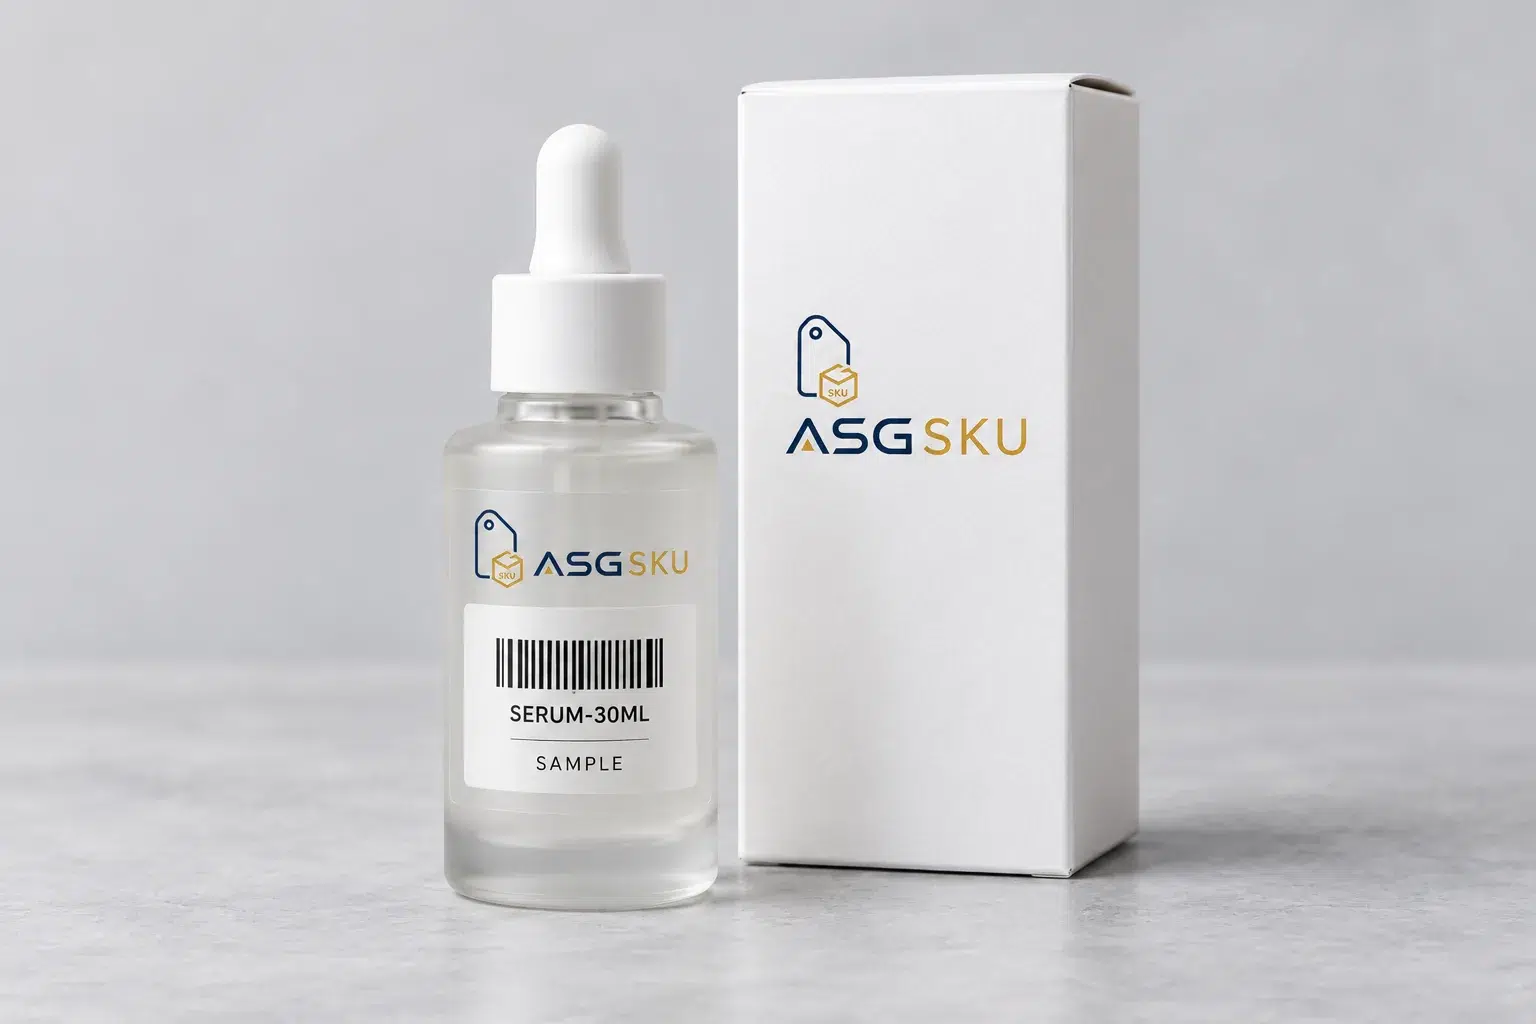
To apply the right label to the right SKU, first identify the physical product and its variant. Use the current approved label file, apply it to the specified surface, and compare the scanned value with the expected item in your system. Hold any mismatch for review. QC photos can document label placement, but they do not replace identity checks or prove dispatch.

Why label mistakes in fulfillment happen
A label can be printed clearly and still identify the wrong product. Separate three questions: is this the expected physical unit, does the label encode the intended identifier, and can the receiving system read it? Treating these as one check leaves gaps. A scanner can read the wrong label perfectly, while an accurate product description can hide a damaged barcode.
Look-alike variants need particular attention. In this example, TEE-NVY-M and TEE-NVY-L share a color but differ in size. Check a reliable product attribute or approved supplier identifier before applying the new label. Scanning that new label against its own print file only confirms the print file; it does not independently identify the garment underneath.
Which physical variant is this?
What value does the code return?
Does it map to the expected item?
Common barcode label errors
Organize faults by where they enter the process. A mapping error links a code to the wrong item. A handling error puts the correct label on a neighboring unit. A print or placement error makes the intended code hard to read. Each needs a different correction: changing printer settings will not repair an incorrect inventory mapping.
Before a batch, compare the approved artwork revision with the working file and inspect a printed sample. GS1 identifies quiet zones, symbol size, contrast and packaging interference as barcode-quality checks. Keep the required clear area around the symbol intact. Test the label on the actual filled packaging, where wrinkles, reflections or a sealing edge may change readability.

Six steps from identification to release
Adapt the following workflow to your products, label requirements and receiving systems. Agree who can resolve exceptions before production begins. A small team may use a controlled manual record; an integrated station may compare identifiers automatically. Either way, an unreadable or unexpected result needs a defined hold action.
-
Step 1: Identify the unit before labeling
Confirm the product, size, color, pack count and condition against the current job. Use an independent identifier or physical attribute where possible. A bundle needs the approved set definition as well as its component identities. If the original identity is missing or ambiguous, isolate the unit instead of creating a new label from appearance alone.
-
Step 2: Load the approved label mapping
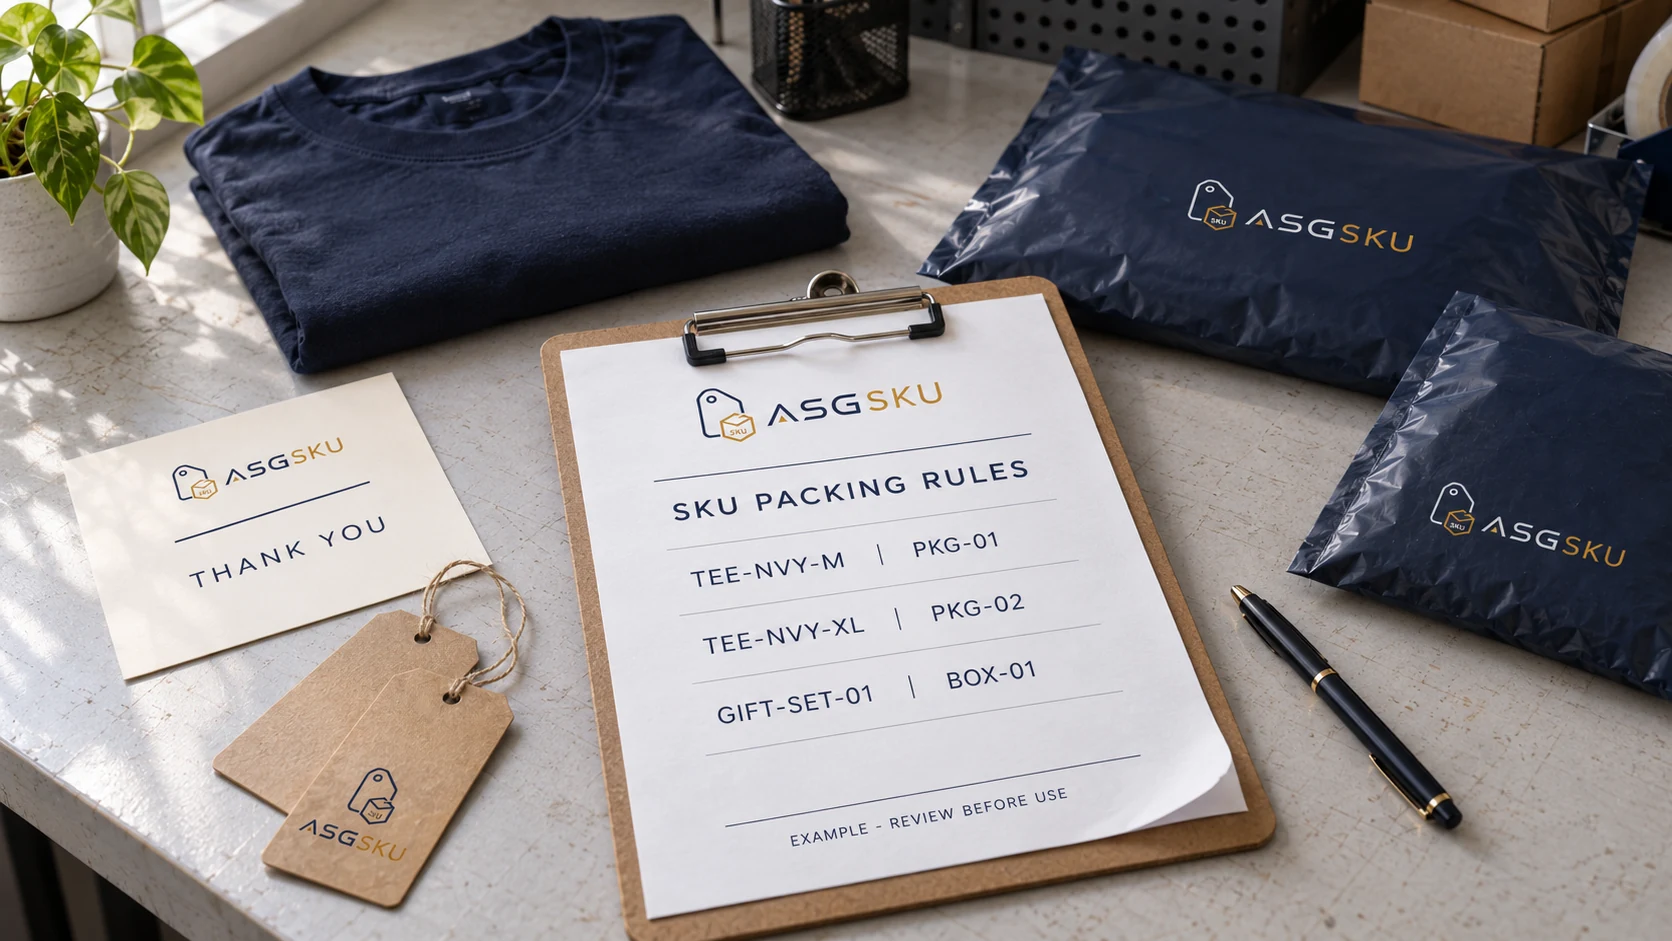
Record the SKU, required barcode value, label type, artwork revision and intended surface. Keep identifiers as text so leading zeros are preserved. Use a controlled source, not an old file found in a downloads folder. If the rule needs drafting, follow how to set SKU packaging rules before beginning application.
-
Step 3: Clear the bench and control the print batch
Remove labels from the previous job and separate similar variants. Print on demand or use clearly identified, controlled batches. Keep the product quantity and usable label quantity visible, and record spoiled labels or reprints. A count helps reconcile the batch, but matching counts alone cannot prove that each label is on the correct unit.
-
Step 4: Apply to the agreed surface
Check that the surface and adhesive are suitable before applying the label. Place it flat, without bridging a fold, sealing seam or sharp edge. Do not stick an adhesive barcode directly to fabric unless that use has been approved for the material. Resolve competing codes according to the applicable channel instructions; preserve required authentication and safety markings.
-
Step 5: Compare the scan with an independent expectation
Read the applied code in the intended receiving or inventory system and compare the returned item with the expected job line and physical variant. A beep means that something was read; inspect the value and mapping. Test for duplicate or missing mappings as well as a mismatch. An ordinary scanner check does not replace formal print-quality verification with a verifier.
-
Step 6: Record the result and release deliberately
Capture the agreed QC evidence and reference it to the job. Record the checker, outcome and any correction before moving the unit out of the station. Keep unresolved units physically separate. If a label is replaced, repeat identity, placement and scan checks on the corrected unit; a previous passing scan must not be reused for a different label.
Wrong label prevention checklist
Use the table at the bench and keep the completed record with the job. A tick means that the named check was performed, not that a problem was ignored. If any required entry is missing, place the affected units in a clearly separated hold area and ask the designated owner to resolve the cause. Do not relabel a whole batch just because one unit failed.
After a failure, identify the potentially affected scope: the same print job, source file, product bin or time window. Record what was inspected and what was corrected. Restart only after the approved data and physical sample agree, then repeat the relevant checks on the corrected units. Keep rejected labels away from the working area so they cannot return to the batch.
| Check | Continue when | Hold when |
|---|---|---|
| Identity | Physical variant matches the expected job line. | Identity or pack contents are unclear. |
| Source | Current approved mapping and file are recorded. | File is obsolete or instructions conflict. |
| Bench | Variants and print batches are separated. | Mixed or unexplained labels remain. |
| Placement | Surface and channel-specific markings are checked. | Code is folded, obscured or on the wrong level. |
| Read + match | Decoded value maps to the expected item. | Unreadable, unexpected or duplicate mapping. |
| Record | Required check result and evidence are linked to the job. | A required check or exception decision is missing. |
Scroll across to compare continue and hold conditions.
QC photos: record placement without overstating proof
Take one view that shows the label in relation to the whole unit and a closer view when needed to read the human-readable identifier. Keep hands away from the code. Photograph the actual surface and attachment point rather than a loose label beside the product. Use a neutral work background and enough light to avoid glare across the symbol.
Link the files to an internal job reference, SKU, date and relevant check result. Avoid including customer names or addresses when an internal reference is sufficient. Set access and retention with the people responsible for the operation and its applicable requirements. A sample photo represents that sample; do not describe it as evidence that every unit was checked.
A clear photograph cannot demonstrate that a barcode decoded correctly, that hidden contents matched the label, or that the parcel entered a carrier network. Pair images with the relevant comparison record and, where needed, dispatch records. In the proposed workflow, photographs support a traceable check; they are not a substitute for the check itself.
FNSKU and marketplace labels: check the current requirement
Identify the selling channel, marketplace and listing before deciding which code to apply. An internal SKU, a GTIN carried in a retail barcode and an Amazon identifier serve different roles. Preserve their explicit mapping instead of assuming they are interchangeable. Use the current instructions and generated label file for the actual listing and shipment.
Do not turn barcode coverage into a blanket instruction. Amazon distinguishes manufacturer, Amazon and Transparency barcodes, and its guidance says that Transparency codes must not be covered. Follow the applicable rule for competing product barcodes while keeping required authentication and safety information visible. If the instructions conflict or the required surface is unclear, hold the unit for clarification.
Unit labels, carton identifiers and carrier shipping labels belong to different packaging levels. Check the intended level before printing or placement. For a labeling brief, start with barcode, SKU and FBA labels and confirm the exact requirements for FBA FNSKU labels. A general guide cannot approve a particular shipment or promise acceptance.
Our recommendation: make stopping easy
Our editorial preference is to make the exception path as clear as the normal path. A visible hold location, an identified decision owner and a short reason field are more useful than a generic instruction to be careful. Test the process deliberately with a wrong-size sample, an obsolete label file and an unreadable label before relying on it in routine work.
Ask the team to show what happens next in each case. If the answer is to guess, override the warning or put the unit back into the normal pile, the procedure is not ready. Resolve that gap before release. Discuss the required handoff, check records and exception ownership as part of warehouse packaging execution, with the scope confirmed for your job.
Test the check before scaling the batch
Start with one clearly identified product and an approved label mapping. Test the full sequence on the actual packaging, including a deliberate mismatch and an unreadable label. Make the hold path explicit, repeat affected checks after correction, and retain records that match the scope you claim. Once that sequence works, document it for the next product rather than assuming every variant or channel follows the same instruction.
Frequently asked questions
No. It shows that a code was read in that setup. Confirm the decoded value maps to the expected item and independently check the physical variant. A wrong label can scan successfully.
No. Follow the requirements for that product and channel. Some competing product codes may need covering, while authentication codes and required safety information must remain available. Resolve uncertainty before applying a label.
A controlled manual comparison can help establish product identity and mapping, but it does not test machine readability. Plan how the actual receiving system will be checked, and do not describe a manual check as scan verification.
Only claim the scope your records support. A sample photo documents a sample, and an image alone does not establish a successful scan or dispatch. Keep the relevant check records and any required shipment evidence alongside it.
References
- GS1: What should I check to ensure good quality barcodes?
Quiet zones, symbol dimensions, contrast and packaging interference.
- GS1: How can I measure the quality of my printed barcodes?
Print-quality measurement uses a conforming barcode verifier.
- Amazon: FBA prep, packaging, and labeling
Different barcode roles and conditional placement requirements; Transparency codes must remain uncovered. Confirm current listing-specific instructions.