Make the parcel recognizable
Choose where the customer first sees your logo: on the lid, inside the box or on a coordinated insert. A focused print area can be enough to make the packaging feel connected.
Choose the box, show your brand, and plan how it fits your products and packing routine.
Box style · Print finish · SKU packing plan

Consider the impression, the packed fit and the work at the packing bench.
Choose where the customer first sees your logo: on the lid, inside the box or on a coordinated insert. A focused print area can be enough to make the packaging feel connected.
Check the product together with its insert and cushioning. Oversized cartons can add empty space and shipping cost; an overly tight box can leave too little protection.
Flat cartons still need to be stored, set up, filled and sealed. Assign those steps alongside the artwork and box specification.
Custom boxes are cardboard or paperboard boxes specified around your product and artwork. Custom mailer boxes, shipping cartons and rigid gift boxes serve different roles, so start with the product as it will actually be packed.
Agree the box style, board grade, inside and outside print, and any insert. Review the dimensions on a folded sample before confirming production; then link each approved size to the SKU and packing instructions that use it.
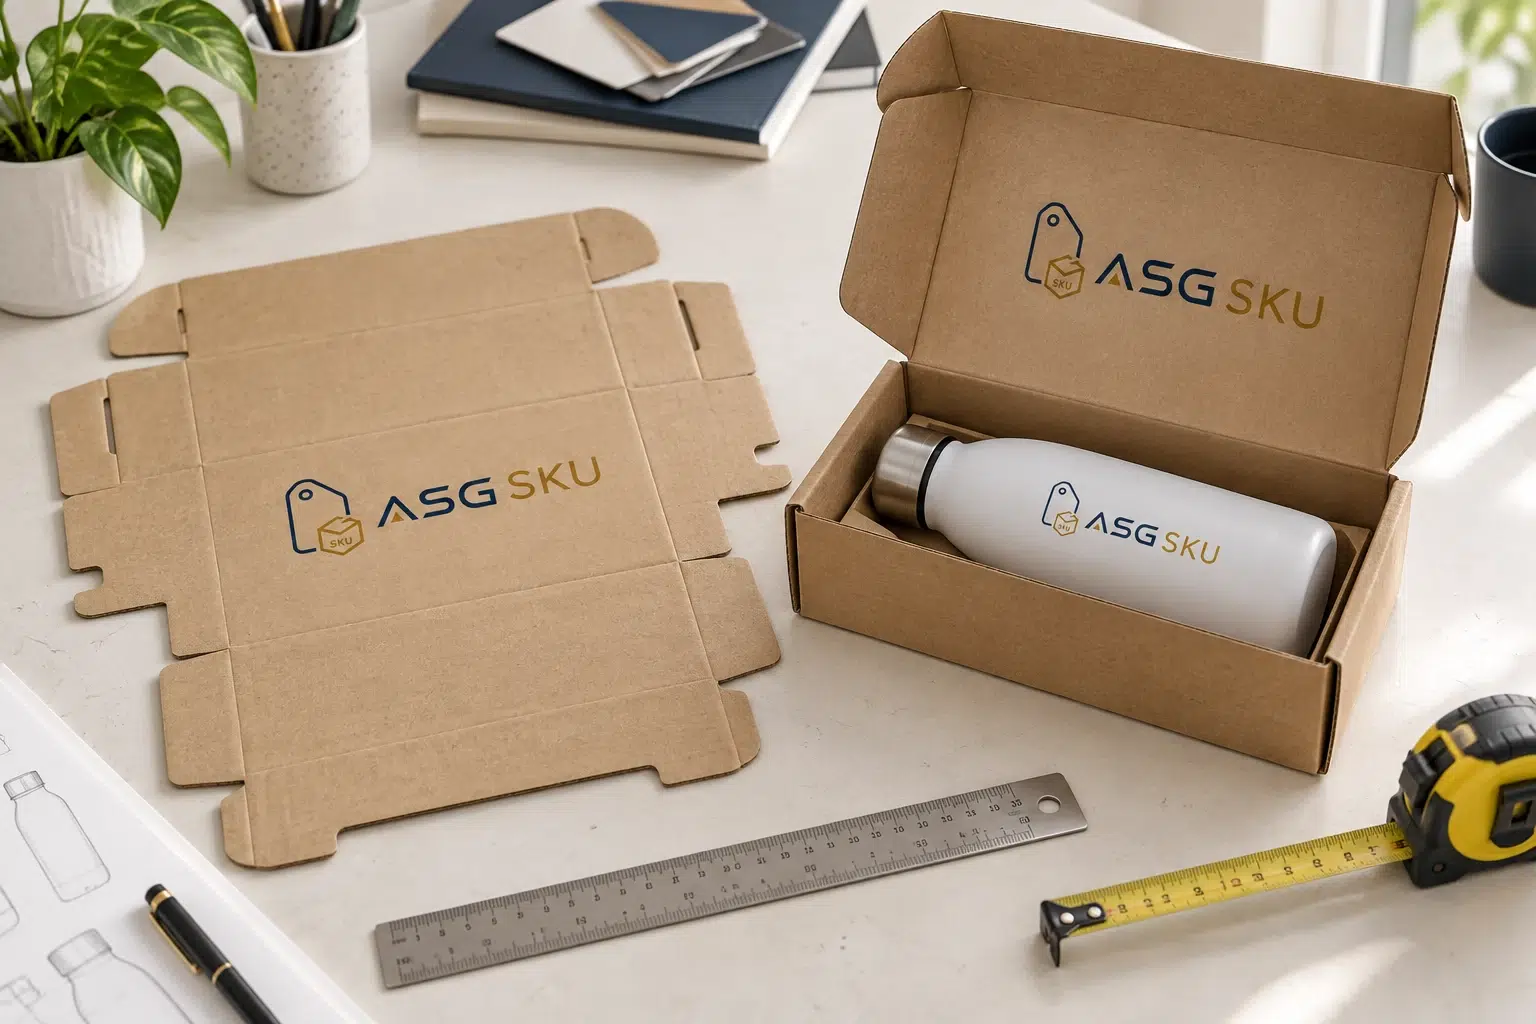
Start from what the box has to do: survive a parcel network, open like a gift, or sit on a shelf.
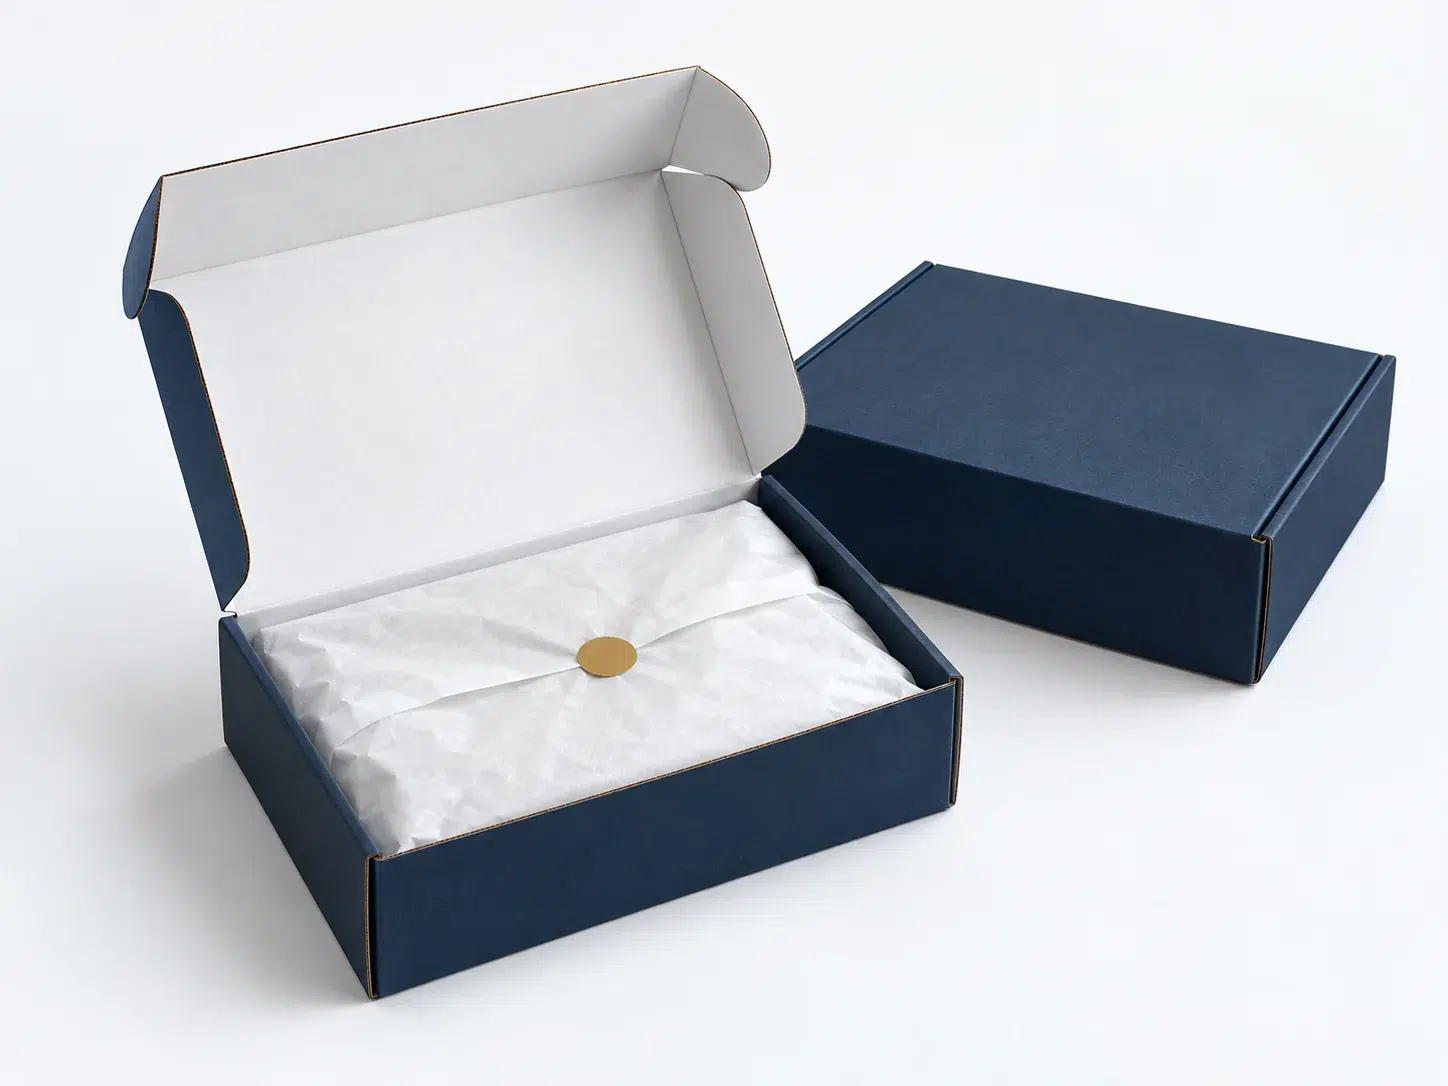
Self-locking corrugated boxes with a tuck-in lid. A useful starting point for apparel, beauty and subscription parcels.
Self-locking lid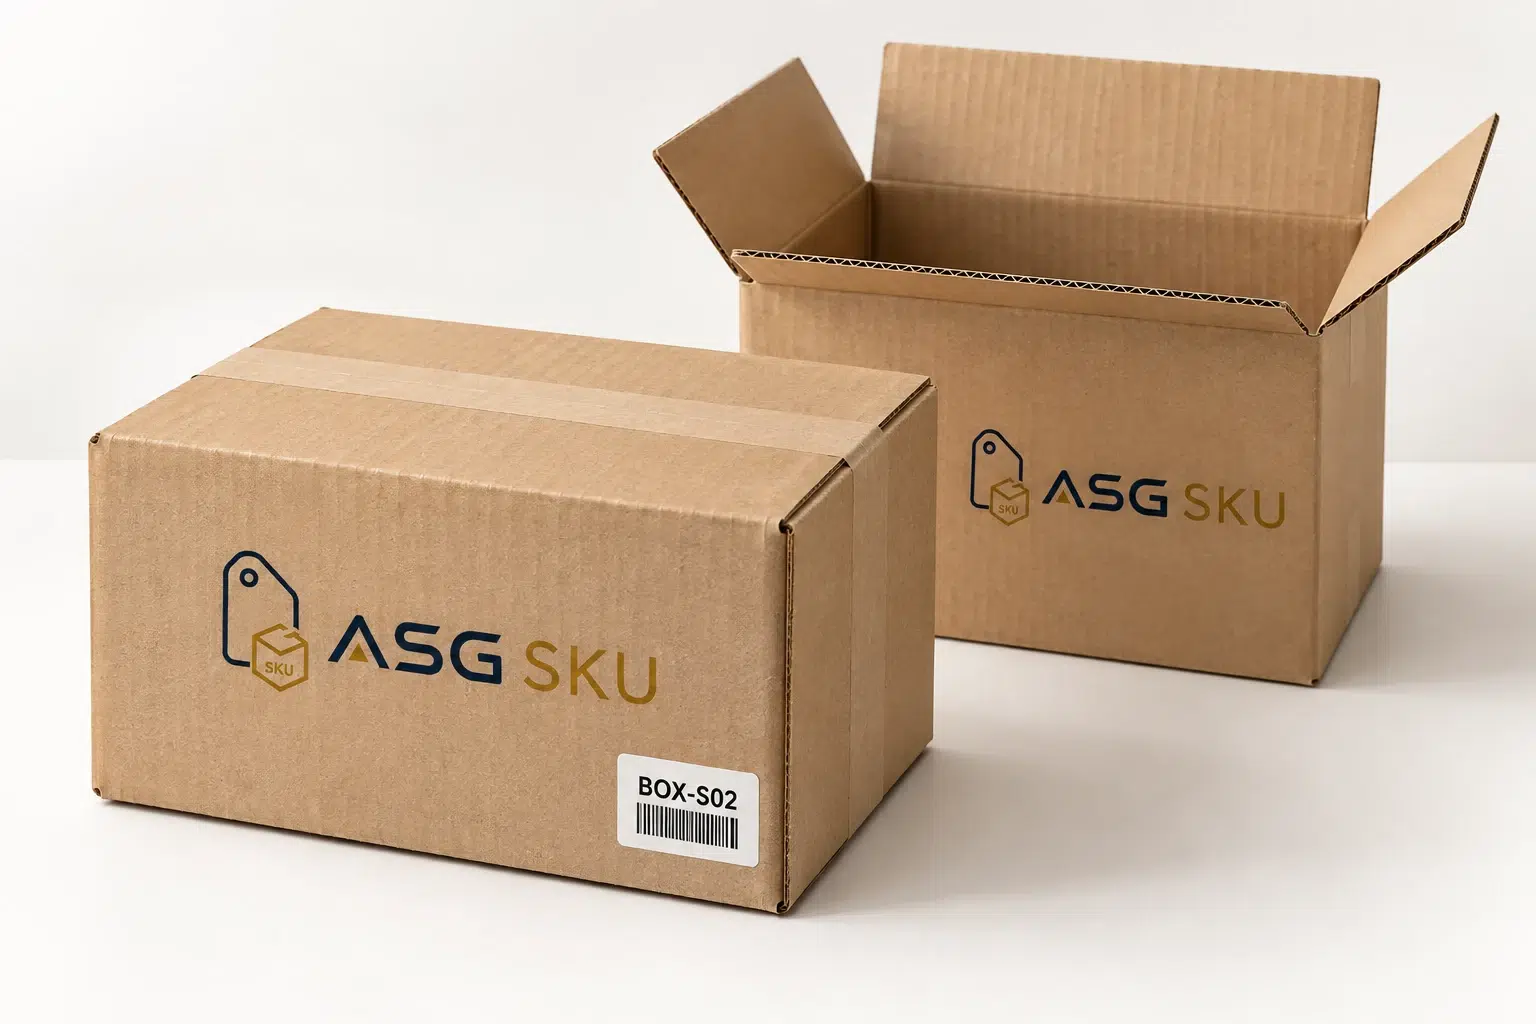
Slotted cartons sealed with tape. Specify the board and cushioning around the product weight and shipping route.
Tape closureChoose custom packaging tape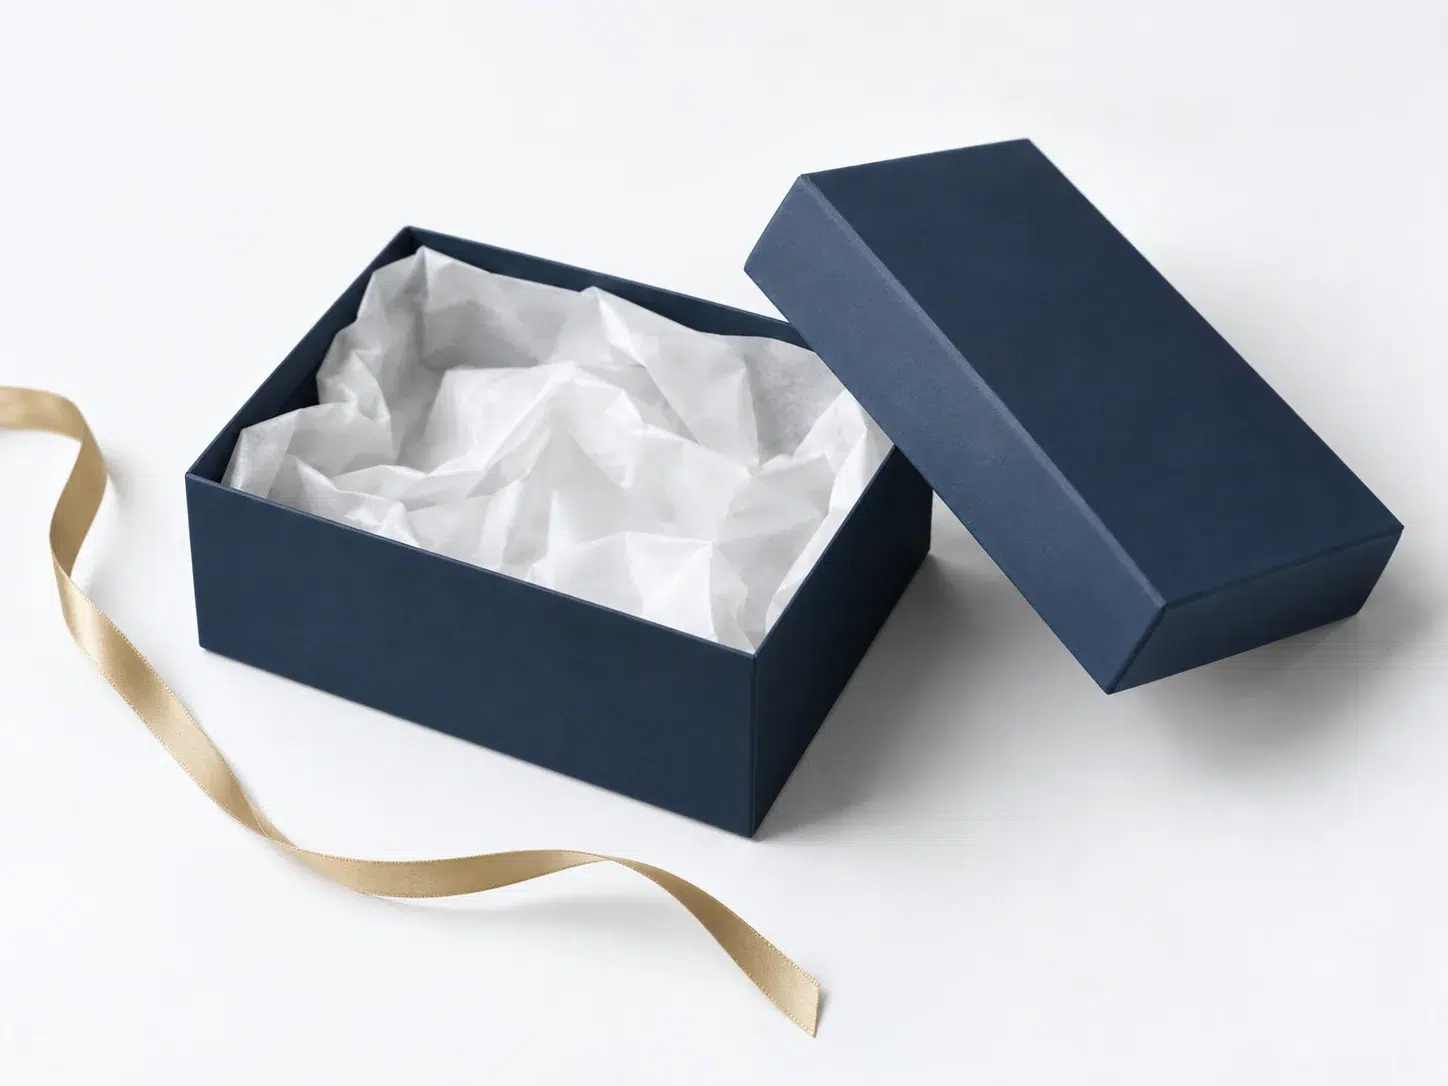
Thick board wrapped in paper, with a separate lid or hinged closure. Compare presentation, storage space and outer shipping protection.
Gift presentationExplore custom gift boxes
Fluted board gives the mailer its structure. Review the flute, board grade and packed sample together; style alone does not establish protection.
Fluted board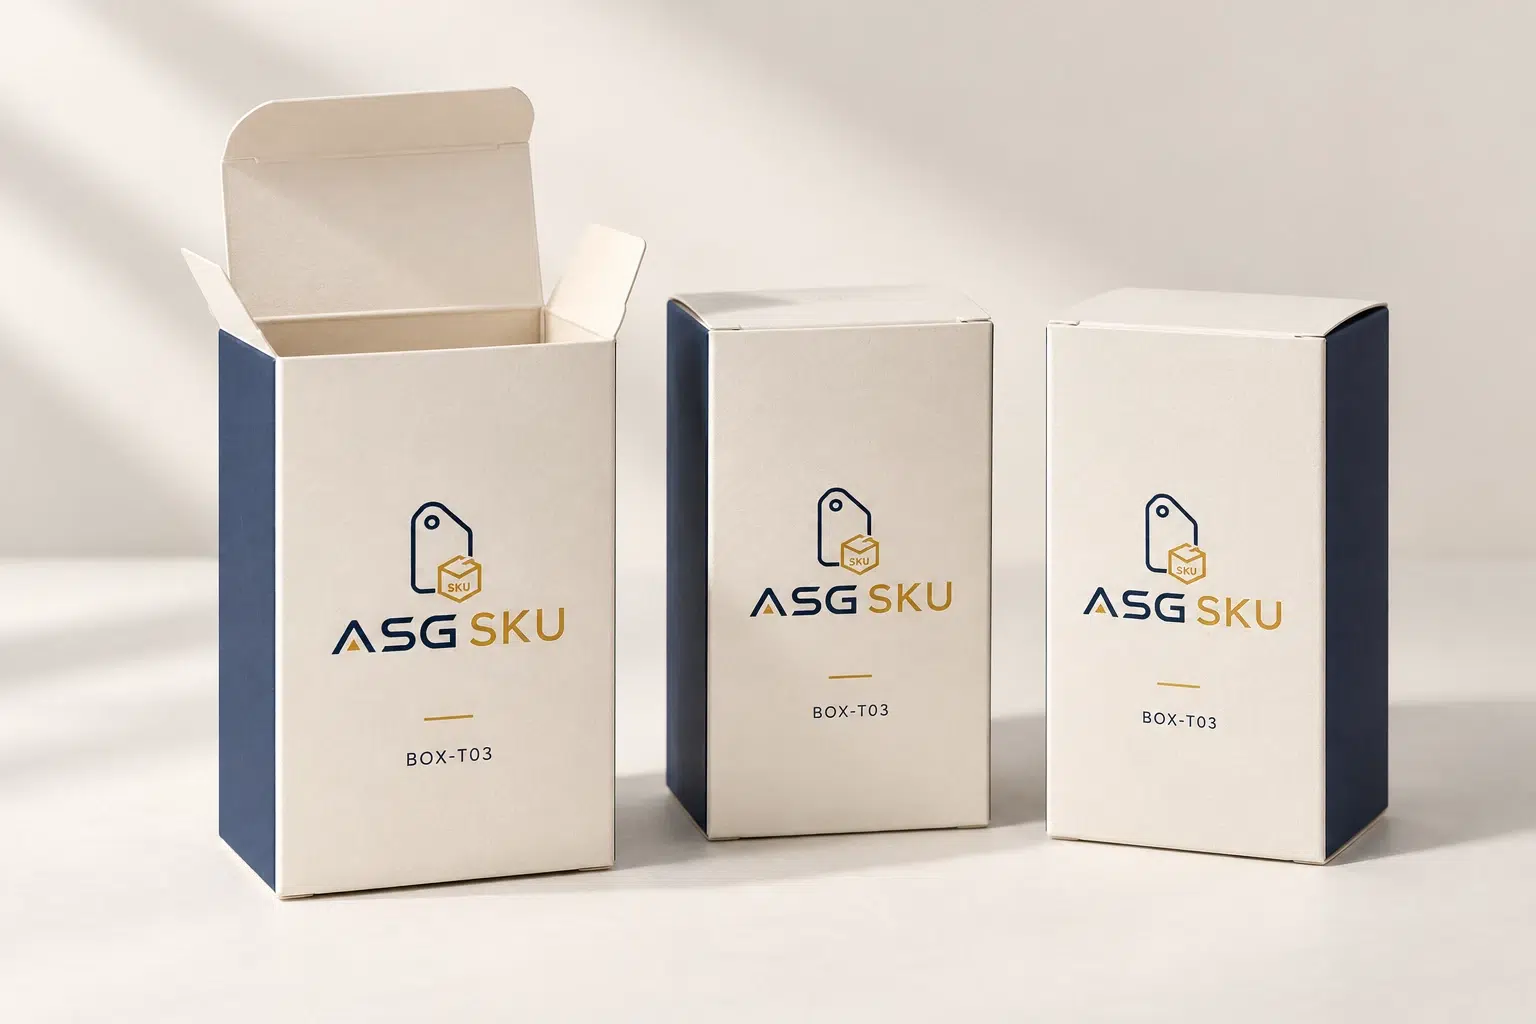
Folding paperboard cartons for products such as skincare and accessories. These usually sit inside protective outer shipping packaging.
Retail product box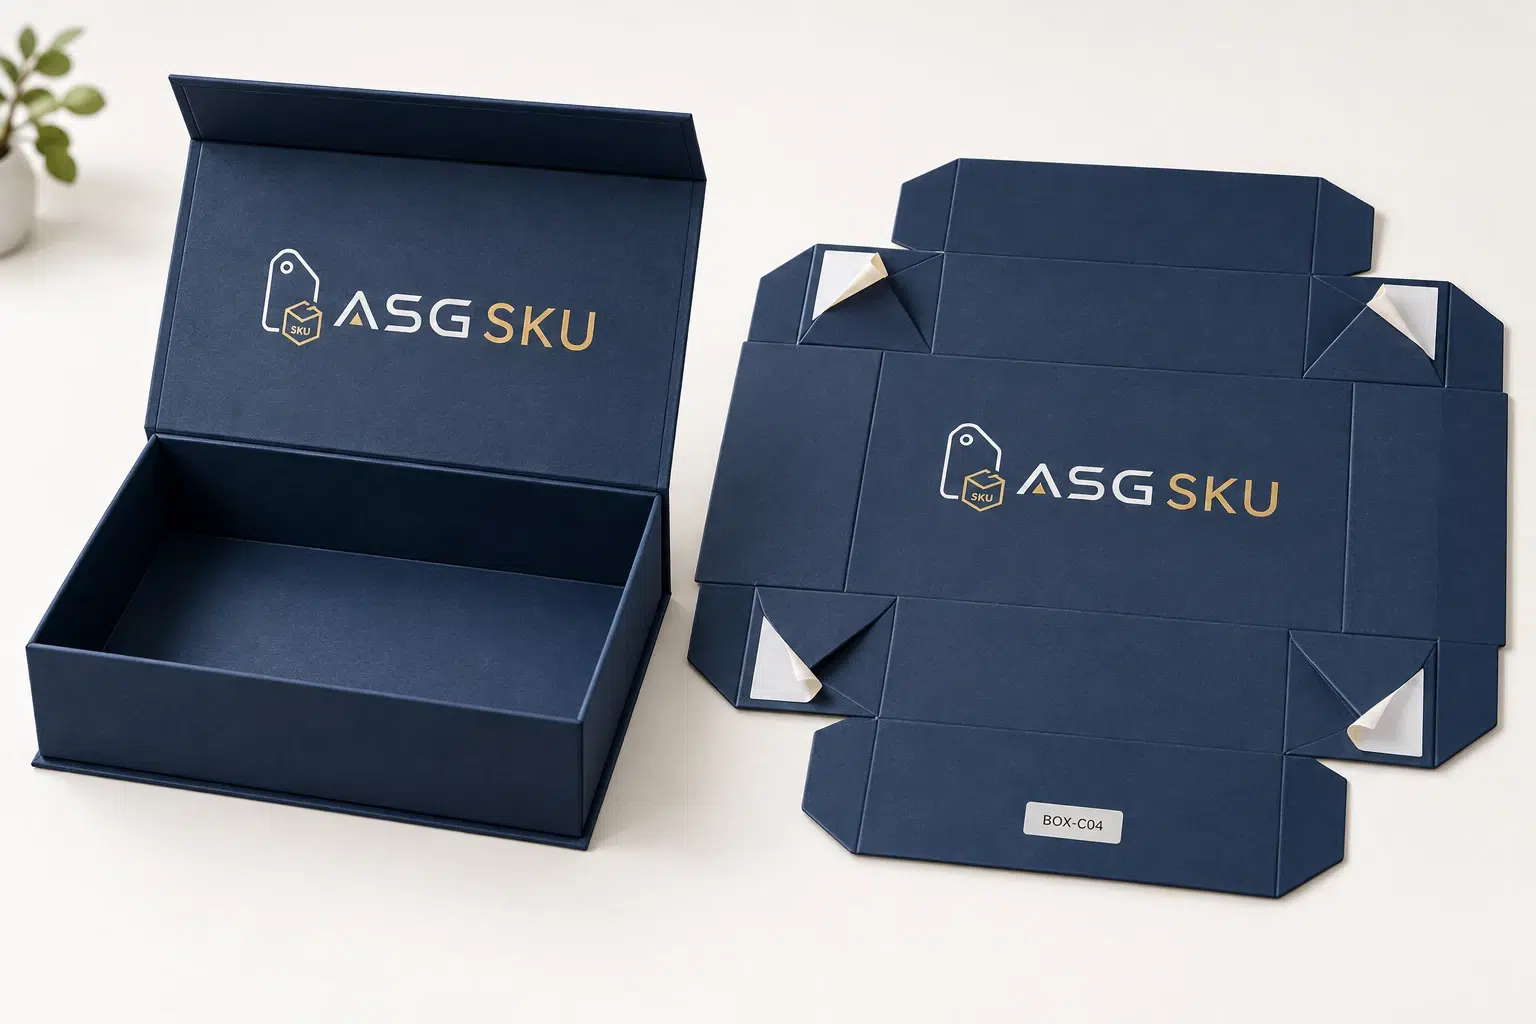
A rigid presentation box designed to store flat and fold up at pack-out. Check the assembly method and time on a sample.
Flat storageMOQ and lead time depend on the selected style, size and print specification. Confirm both on your quote.
Compare board families, then confirm available sizes, print processes and finishes.
Scroll across to compare all specifications.
| Board | Best for | Print & finish |
|---|---|---|
| E-flute corrugated | Mailer boxes for apparel, beauty, light goods | 1–4 color outside, optional inside print |
| B-flute corrugated | Custom shipping boxes, heavier items | 1–2 color logo, kraft or white |
| Paperboard (SBS / kraft) | Tuck boxes and retail product boxes | Full color, matte or gloss lamination |
| Rigid chipboard | Gift sets, launch kits, high-value products | Wrapped paper, foil stamp, emboss |
Options shown are for discussion. Availability, board grade and finish must be confirmed on the quote and sample.
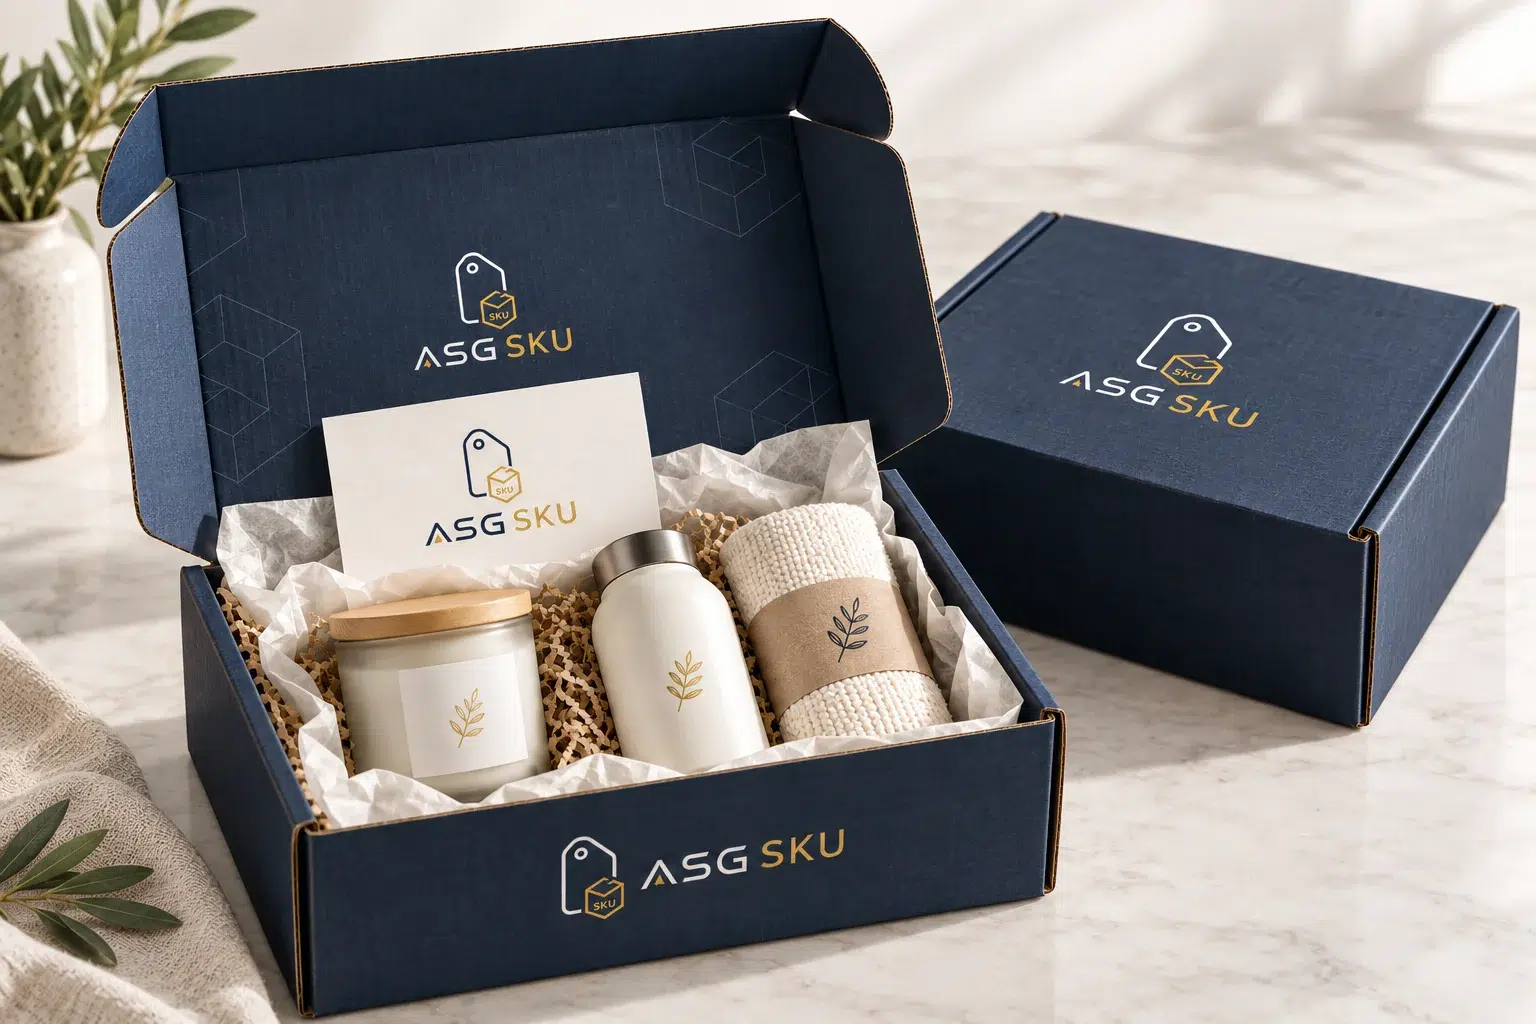
A printed lid, tissue and a clear product arrangement create a considered opening experience. Plan the same visual language across your product sizes.
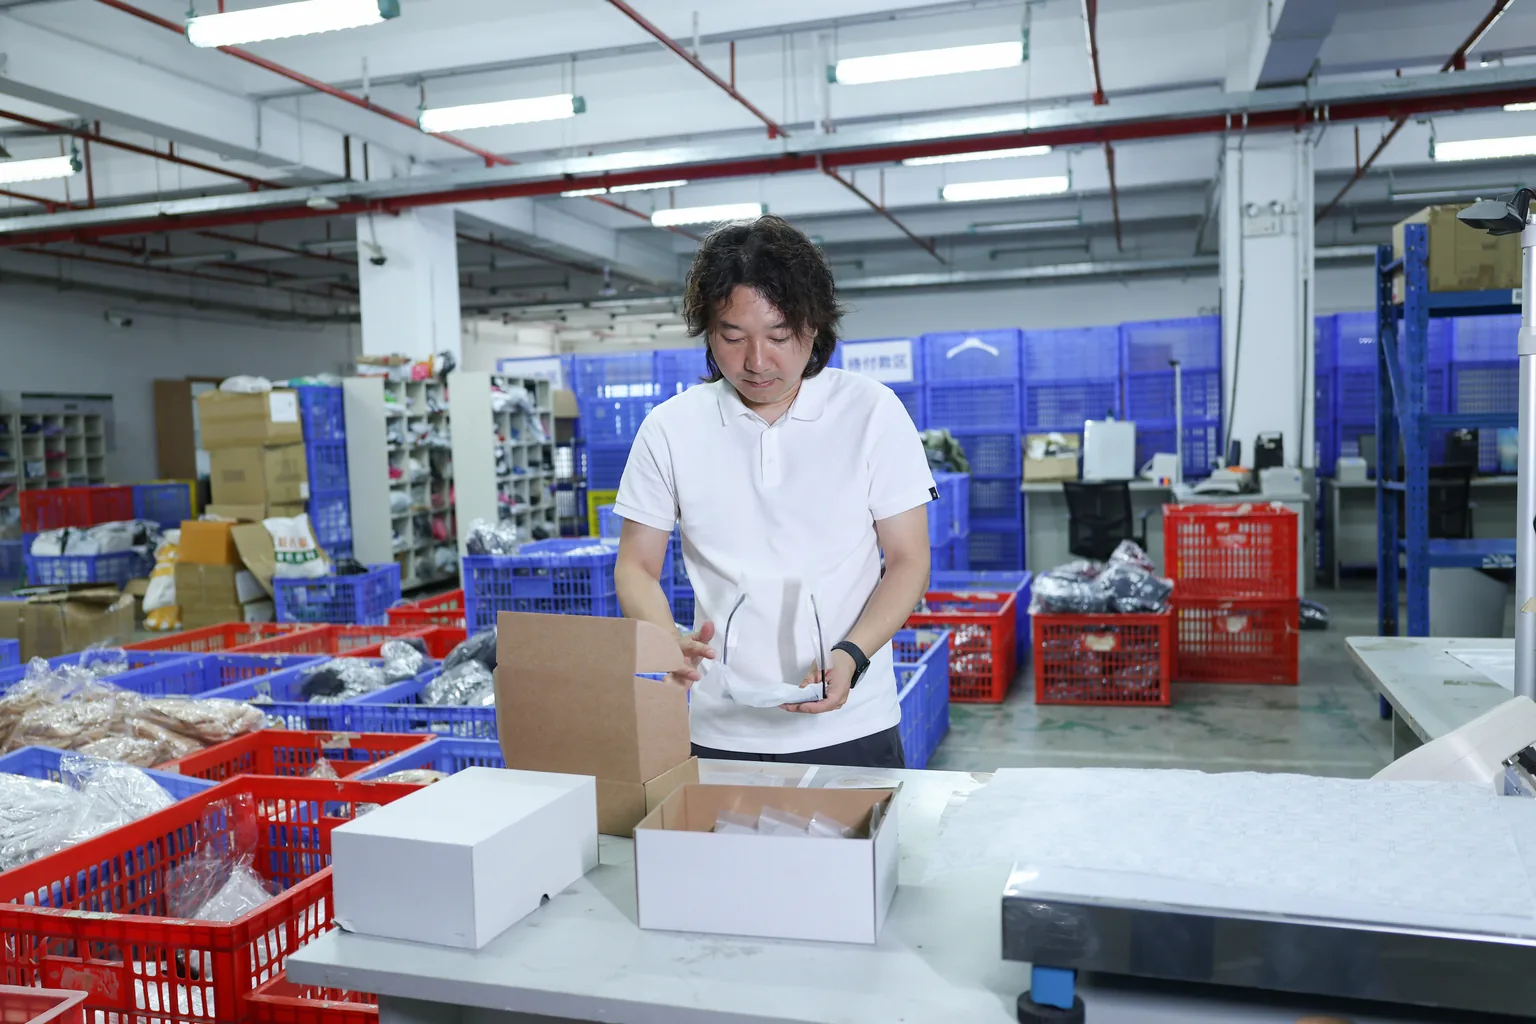
Build the layout around the items in each set. Use an insert or divider where needed, then record the contents and arrangement for each recurring pack.
Add packaging inserts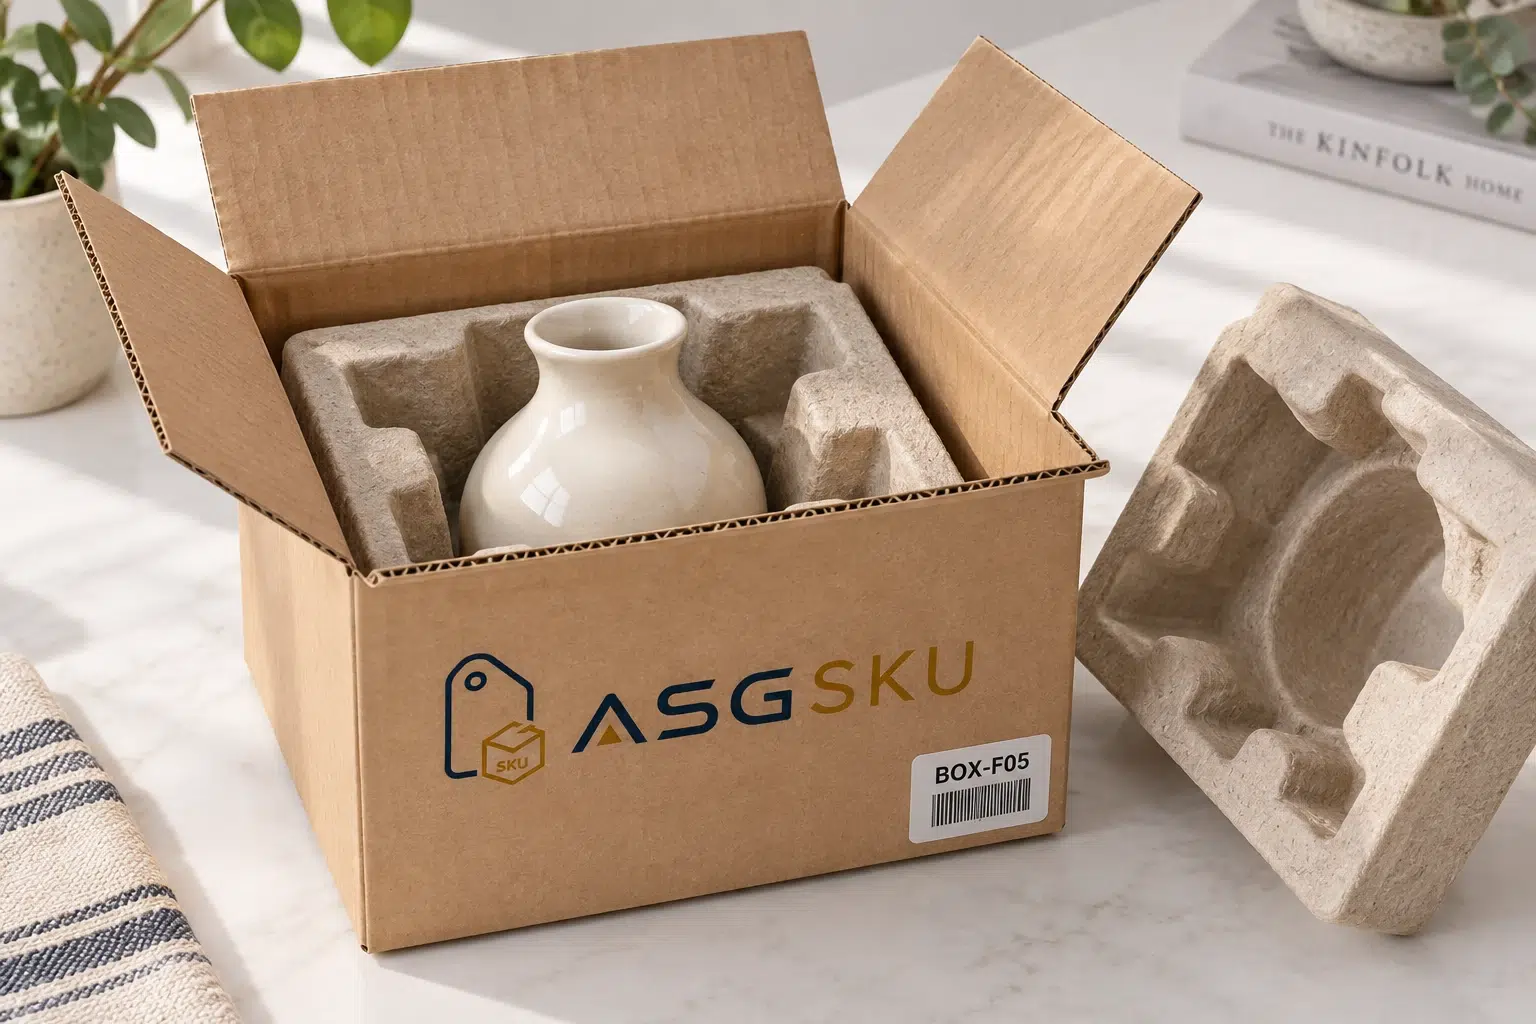
Review the outer carton and protective insert as a complete pack. Test the filled sample against the handling conditions expected on the shipping route.
Keep the box size, insert and any extras in a written packing rule. The rule should describe the complete combination for the product or bundle.
When dimensions or contents change, review the rule and sample pack before the updated combination is used. Agree who approves and maintains the record.
| SKU | Box | Add to order |
|---|---|---|
| CNDL-AMB-200 | Mailer box · S | Pulp insert, care card |
| CNDL-SET-3 | Rigid box · gift | Tissue, thank-you card |
| MUG-WHT-11 | Shipping box · M | Divider insert |
| TAG: SUBSCRIBER | Mailer box · L | + monthly insert card |
Example rules. Your rules are written from your SKU list.
Swipe or use the arrow keys to view all columns.
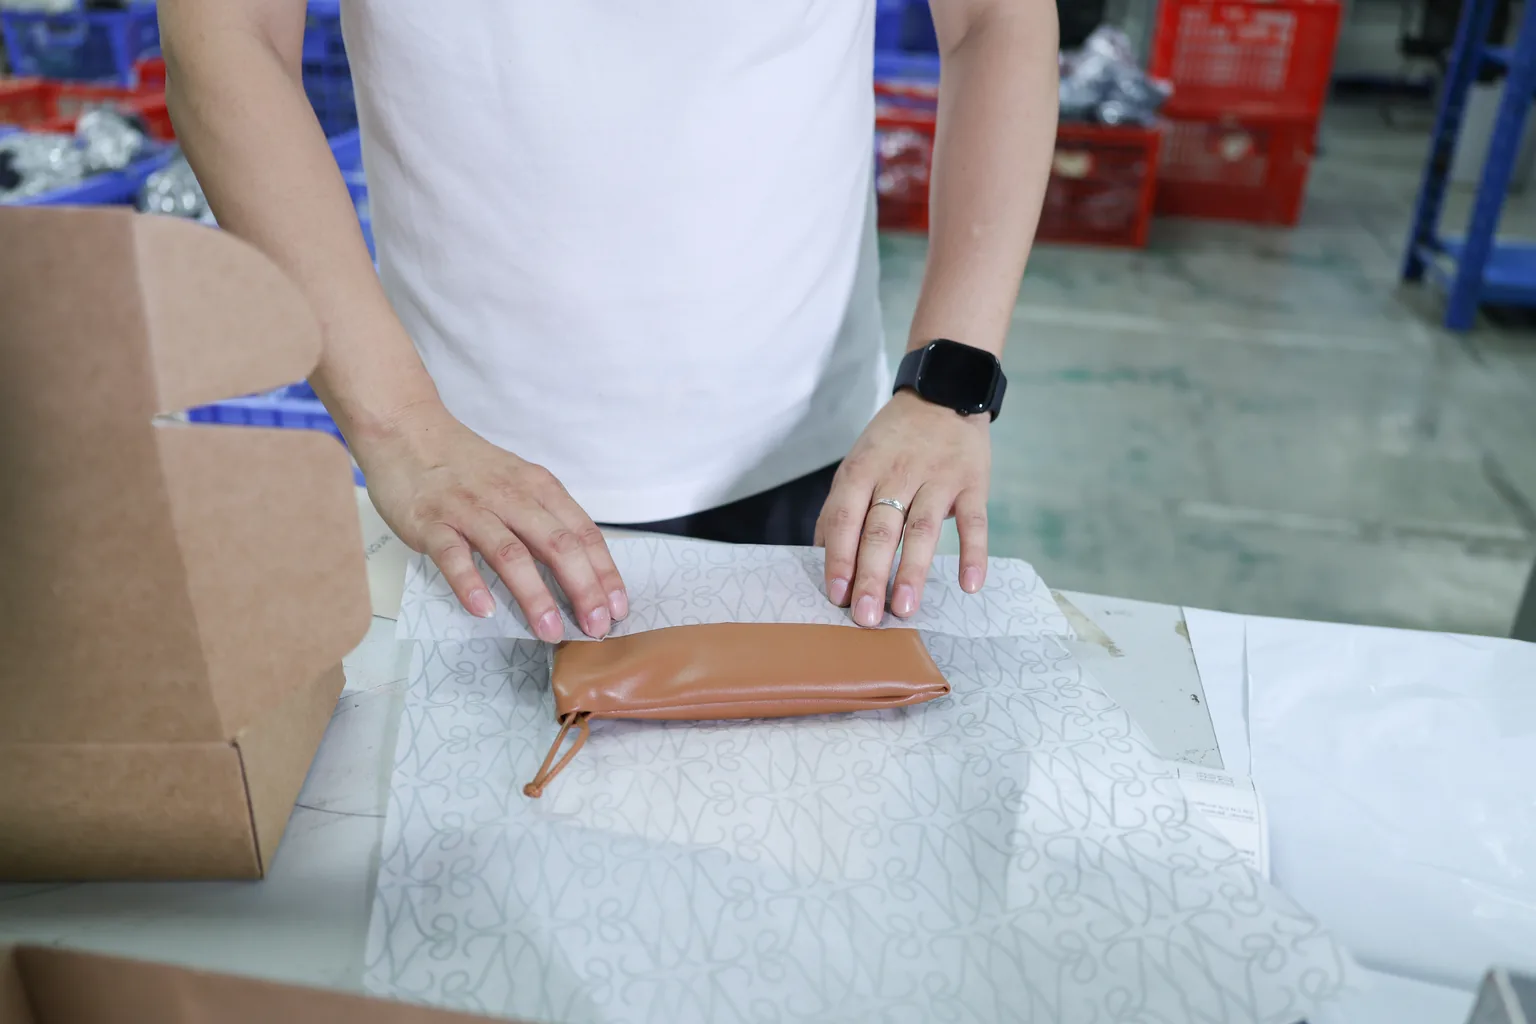
Include the work after printing: storing flat boxes, setting them up, adding products and inserts, and checking the finished parcel.
Confirm service scope, stock handling and checks for your project.
Review the actual sample and supporting specifications.
Record the flute and board grade. Check the filled sample with its insert and closure; a board name by itself is not a transit performance guarantee.
Review logo placement, fine text and alignment on the chosen material. Agree the print reference and acceptable tolerances before production.
If recycled content or certified sourcing matters, request the relevant documentation and verify its scope. Confirm permission before including a certification mark.
Confirm specifications, quantity and timing in your quote.
Confirm quantities, pricing and timing for your selected specifications. Storage and pack-out apply only if agreed. Read the custom packaging MOQ guide.
Make both sets of responsibilities explicit before the work starts.
Scroll across to compare all specifications.
| Task | Box production brief | Packing plan to agree |
|---|---|---|
| Print and structure | Box style, board, dieline and proof | Which product uses each approved size |
| Storage | Quantity and delivery destination | Receipt counts, location and stock owner |
| Assembly | Flat or assembled delivery format | Who folds, fills, inserts and seals |
| Checks | Sample and production acceptance | SKU identification and finished-pack checks |
| Replenishment | Reprint quantity and lead time | Review frequency, reorder point and owner |
Planning comparison only. Confirm ASG SKU service availability and responsibilities on the project quote.
Approve the physical pack as well as the printed artwork.
Prepare packed dimensions and weights. Compare the structure, board and size options.
Use the agreed dieline for each size. Review print areas, folds and text on the proof.
Check the fit, closure, color and insert. Confirm sample cost and timing before ordering.
Agree quantity, specification, price, timing and delivery destination.
Record which box and extras belong to each product. Agree stock and packing responsibilities.
Box styles, fit, minimums and the work after printing.
Cost depends on box style, board, size, print coverage, finish and quantity per design. Compare complete quotes, including setup, samples and delivery.
A mailer box typically folds from a die-cut blank and closes with a tuck-in lid. A regular slotted shipping carton is normally taped shut. Choose the structure alongside the board grade, cushioning and handling needs of the packed product.
Minimums depend on the box style, size, print process and design. Include your quantity for each version in the request; confirm whether sizes can share an order or setup before relying on a combined minimum.
Measure the product with its insert, cushioning and any extras. Specify internal dimensions and check the complete fit on a sample. Allow the protection and clearance the product needs rather than choosing a box from the bare product alone.
Compare their presentation with the added cost, weight and storage requirements. They can suit gift sets and launch kits, but may also need a protective outer shipping carton. A sample helps assess the whole pack before committing.
Include storage and pack-out in your request with the product list, box sizes, quantities and monthly order volume. Confirm receiving, storage, assembly, checks and replenishment responsibilities before sending packaging to a warehouse.
Tell us what you ship, the box style you have in mind and how each product should be packed.
Fields marked are required. Select all packaging types that apply.
Add these details to your project notes.